Samba服务器的设置
实验环境
| 主机类型 | 操作系统 | IP地址 |
|---|
| 试验机 | CentOS7 | 192.168.11.38 |
| 测试机 | CentOS7 | 192.168.11.2 |
| 测试机 | Windows10 | 192.168.11.10 |
1.实验环境准备----虚拟机网卡的IP地址和Linux系统的IP地址在同一段
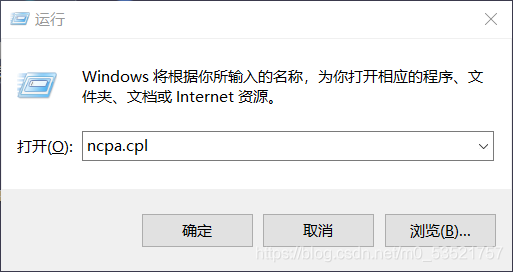
(1)Windows+R 打开运行界面,输入ncpa.cpl命令,打开网卡配置
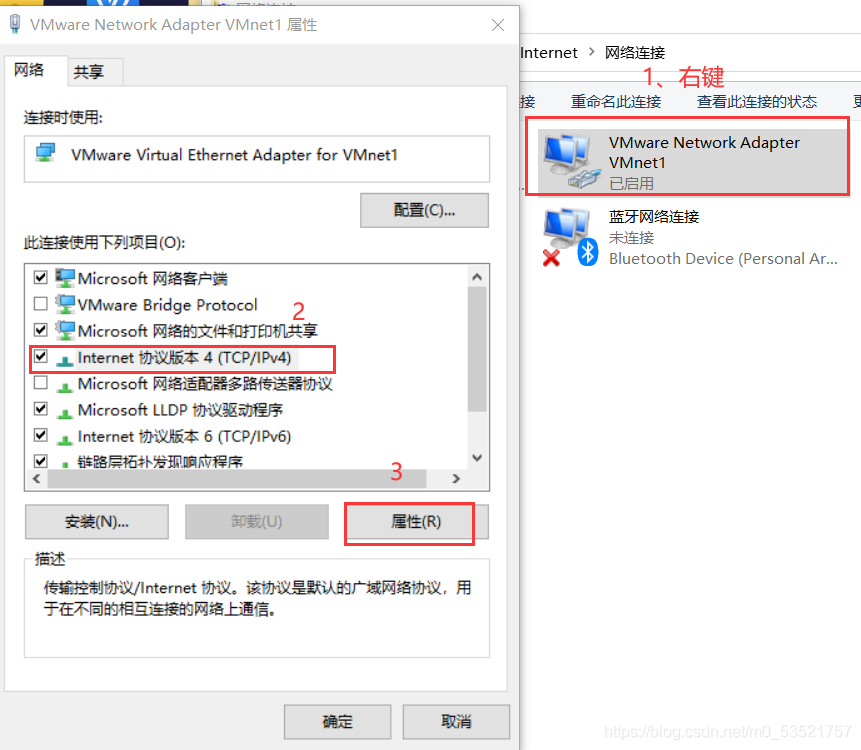
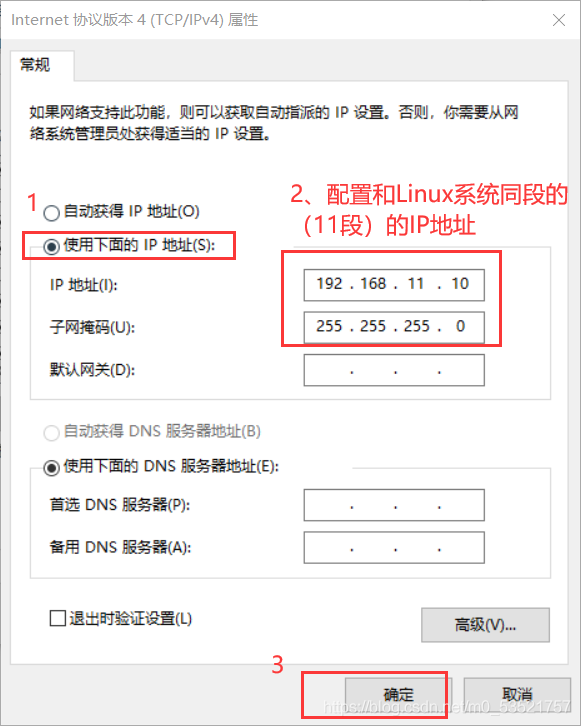
(2)设置虚拟机网卡的IP地址
(3)
开始实验:
1.配置yum源
参考链接https://blog.csdn.net/m0_53521757/article/details/112546446
2.安装Samba服务
[root@localhost ~]# yum -y install samba
3.创建共享目录,并创建一个文件,并给该文件写入“CSDN”内容
[root@localhost ~]# mkdir /myshare
[root@localhost ~]# echo CSDN >> /myshare/test.txt
4.设置共享目录的权限
[root@localhost ~]# chmod 777 /myshare/
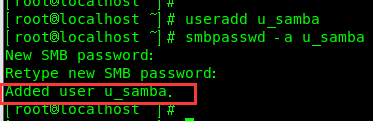
5.设置samba用户
[root@localhost ~]# useradd u_samba
[root@localhost ~]# smbpasswd -a u_samba
6.备份samba的配置文件
[root@localhost ~]# cp /etc/samba/smb.conf /etc/samba/smb.conf.bak

7.编辑samba的配置文件并添加以下内容
[root@localhost ~]# vim /etc/samba/smb.conf
[ myshare]
comment = share some file
path = /myshare
writable = yes
browseable = yes
create mask = 0644
directory mask = 0755
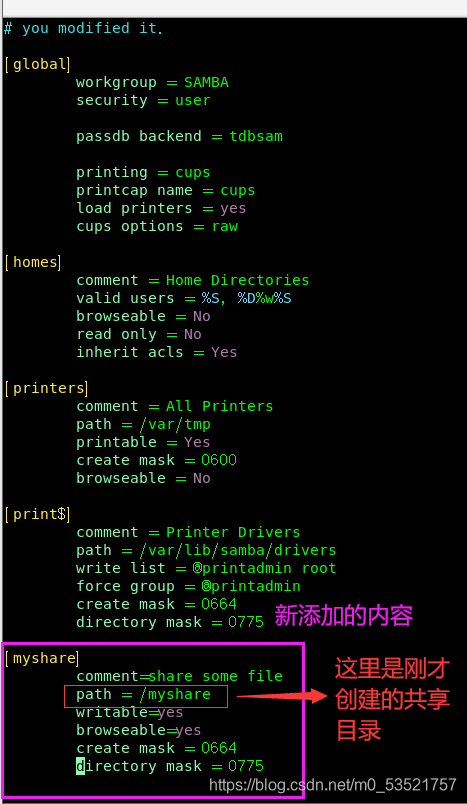
默认文件属性644/755 ( 不然的话,Windows上在这个目录下新建的文件会有“可执行”属性)
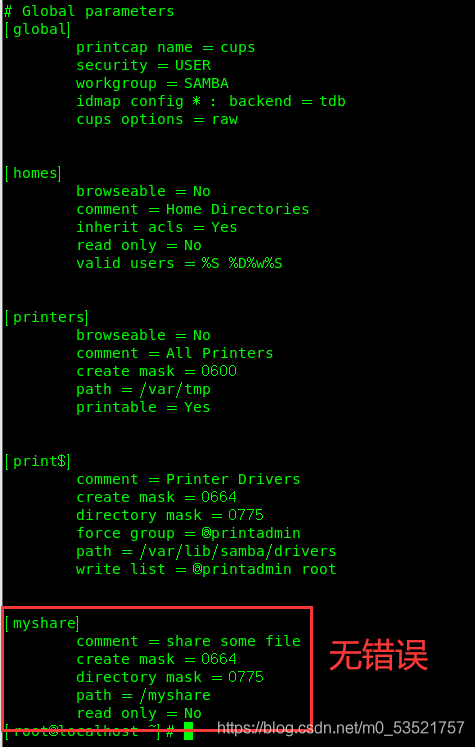
8.用testparm命令来测试smb.conf配置档的合法性
[root@localhost ~]# testparm -s /etc/samba/smb.conf
//参数-s表示不显示提示符号, 等待用户按下Enter键,
就直接列出Samba服务定义信息
9.关闭防火墙
[root@localhost ~]# systemctl stop firewalld.service
10.临时关闭SELINUX
[root@localhost ~]# setenforce 0
11.启动Samba服务
[root@localhost ~]# systemctl start smb.service
加入开机启动
[root@localhost ~]# systemctl enable smb.service

完整代码
[root@localhost ~]# yum -y install samba
[root@localhost ~]# mkdir /myshare
[root@localhost ~]# echo CSDN >> /myshare/test.txt
[root@localhost ~]# chmod 777 /myshare/
[root@localhost ~]# useradd u_samba
[root@localhost ~]# smbpasswd -a u_samba
[root@localhost ~]# cp /etc/samba/smb.conf /etc/samba/smb.conf.bak
[root@localhost ~]# vim /etc/samba/smb.conf
[root@localhost ~]# testparm -s /etc/samba/smb.conf
[root@localhost ~]# systemctl stop firewalld.service
[root@localhost ~]# setenforce 0
[root@localhost ~]# systemctl start smb.service
[root@localhost ~]# systemctl enable smb.service
Windows系统测试
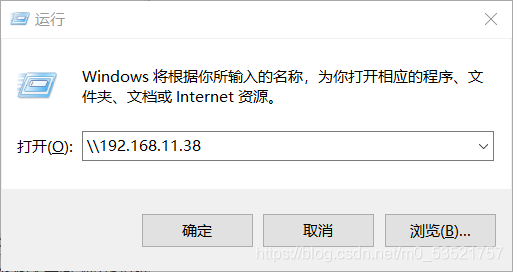
格式:\\ IP
(1)Windows+R 打开运行界面,输入\\192.168.11.38
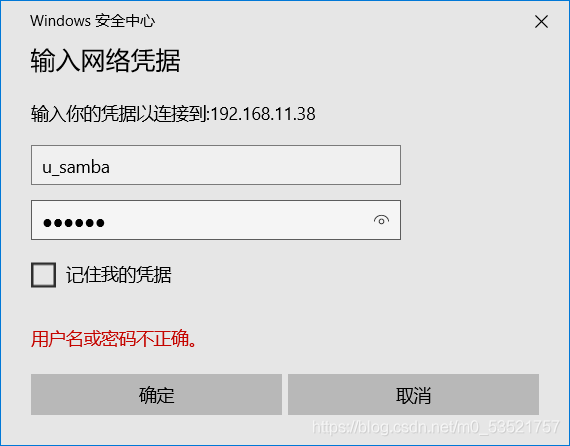
 (2)输入Samba用户的账号和密码
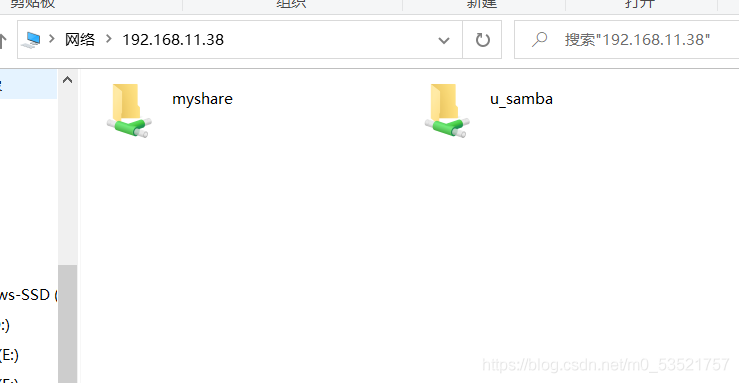
(3)可以看到我们创建的共享目录,接下来我们查看共享目录下的内容。
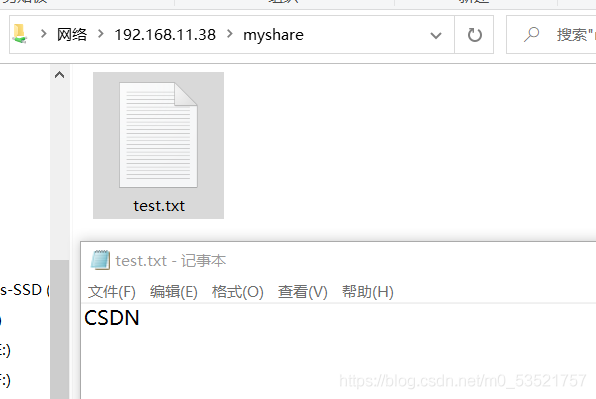
(4)共享目录下有我们创建的文件,打开文件可以看到我们刚才给文件写的内容。
Linux系统测试
1.先安装cifs,若已安装则不用安装
[root@localhost ~]# yum -y install cifs-utils
2.创建一个smb目录
[root@localhost ~]# mkdir /tmpsamba
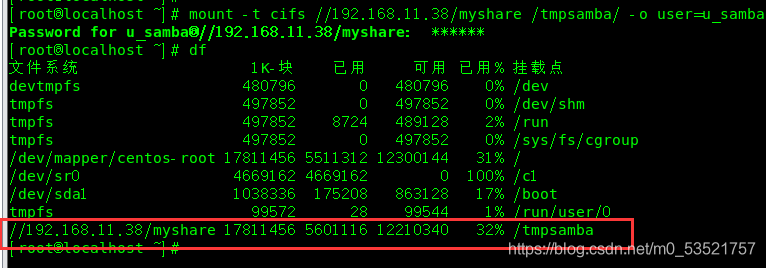
3.挂载
使用[root@localhost ~]# mount -t cifs //192.168.11.38/myshare /tmpsamba/ -o user=u_samba命令挂载

4.查看是否挂载成功
[root@localhost ~]# df
5.查看tmpsamba目录的内容
[root@localhost ~]# ls /tmpsamba/
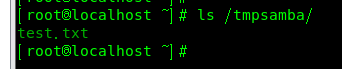
可以看出test.txt 文件成功挂载到tmpsamba目录下
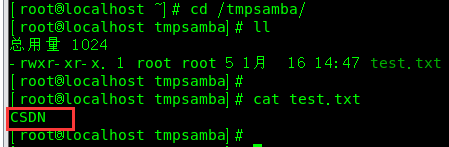
6.切换至tmpsamba目录,查看该目录下的文件内容
[root@localhost ~]# cd /tmpsamba/
[root@localhost tmpsamba]# ll
[root@localhost tmpsamba]# cat test.txt
完整代码
[root@localhost ~]# mount -t cifs
Password for u_samba@
[root@localhost ~]# df
[root@localhost ~]# ls /tmpsamba/
[root@localhost ~]# cd /tmpsamba/
[root@localhost tmpsamba]# ll
[root@localhost tmpsamba]# cat test.txt
今天的分享就到这里,创作不易,希望大家给个赞。有什么问题直接私信或者评论都可以,博主肯定会回复的。希望大家指出我的不足之处,我们共同努力。
cs