
Github
зЂВсгІгУ
ШчЙћЯывЊЪЙгУGithubЮЊгІгУЪкШЈЕФЛА,вЊЯШШЅздМКЕФеЫЛЇЩЯзЂВсвЛИігІгУ,ЕуЛїзЂВсЁЃ
![[ЭтСДЭМЦЌзЊДцЪЇАм,дДеОПЩФмгаЗРЕССДЛњжЦ,НЈвщНЋЭМЦЌБЃДцЯТРДжБНгЩЯДЋ(img-xl0CN1FD-1629897178733)(https://imgblog.csdnimg.cn/99253549a82d43258425957b20d75b21.png?x-oss-process=image/watermark,type_ZmFuZ3poZW5naGVpdGk,shadow_10,text_Q1NETiBAeHjlsI_lj7Dnga8=,size_54,color_FFFFFF,t_70,g_se,x_16)]](http://style.iis7.com/uploads/2021/08/15345044369.png)
УћГЦЫцБуЪфШы,аДЩЯздМКЭјеОЕФжївГ,зюКѓвЛИіЪЧЪкШЈГЩЙІжЎКѓЛиЕїЕФвГУцЁЃ
ДДНЈГЩЙІжЎКѓЛсПДЕНетИі

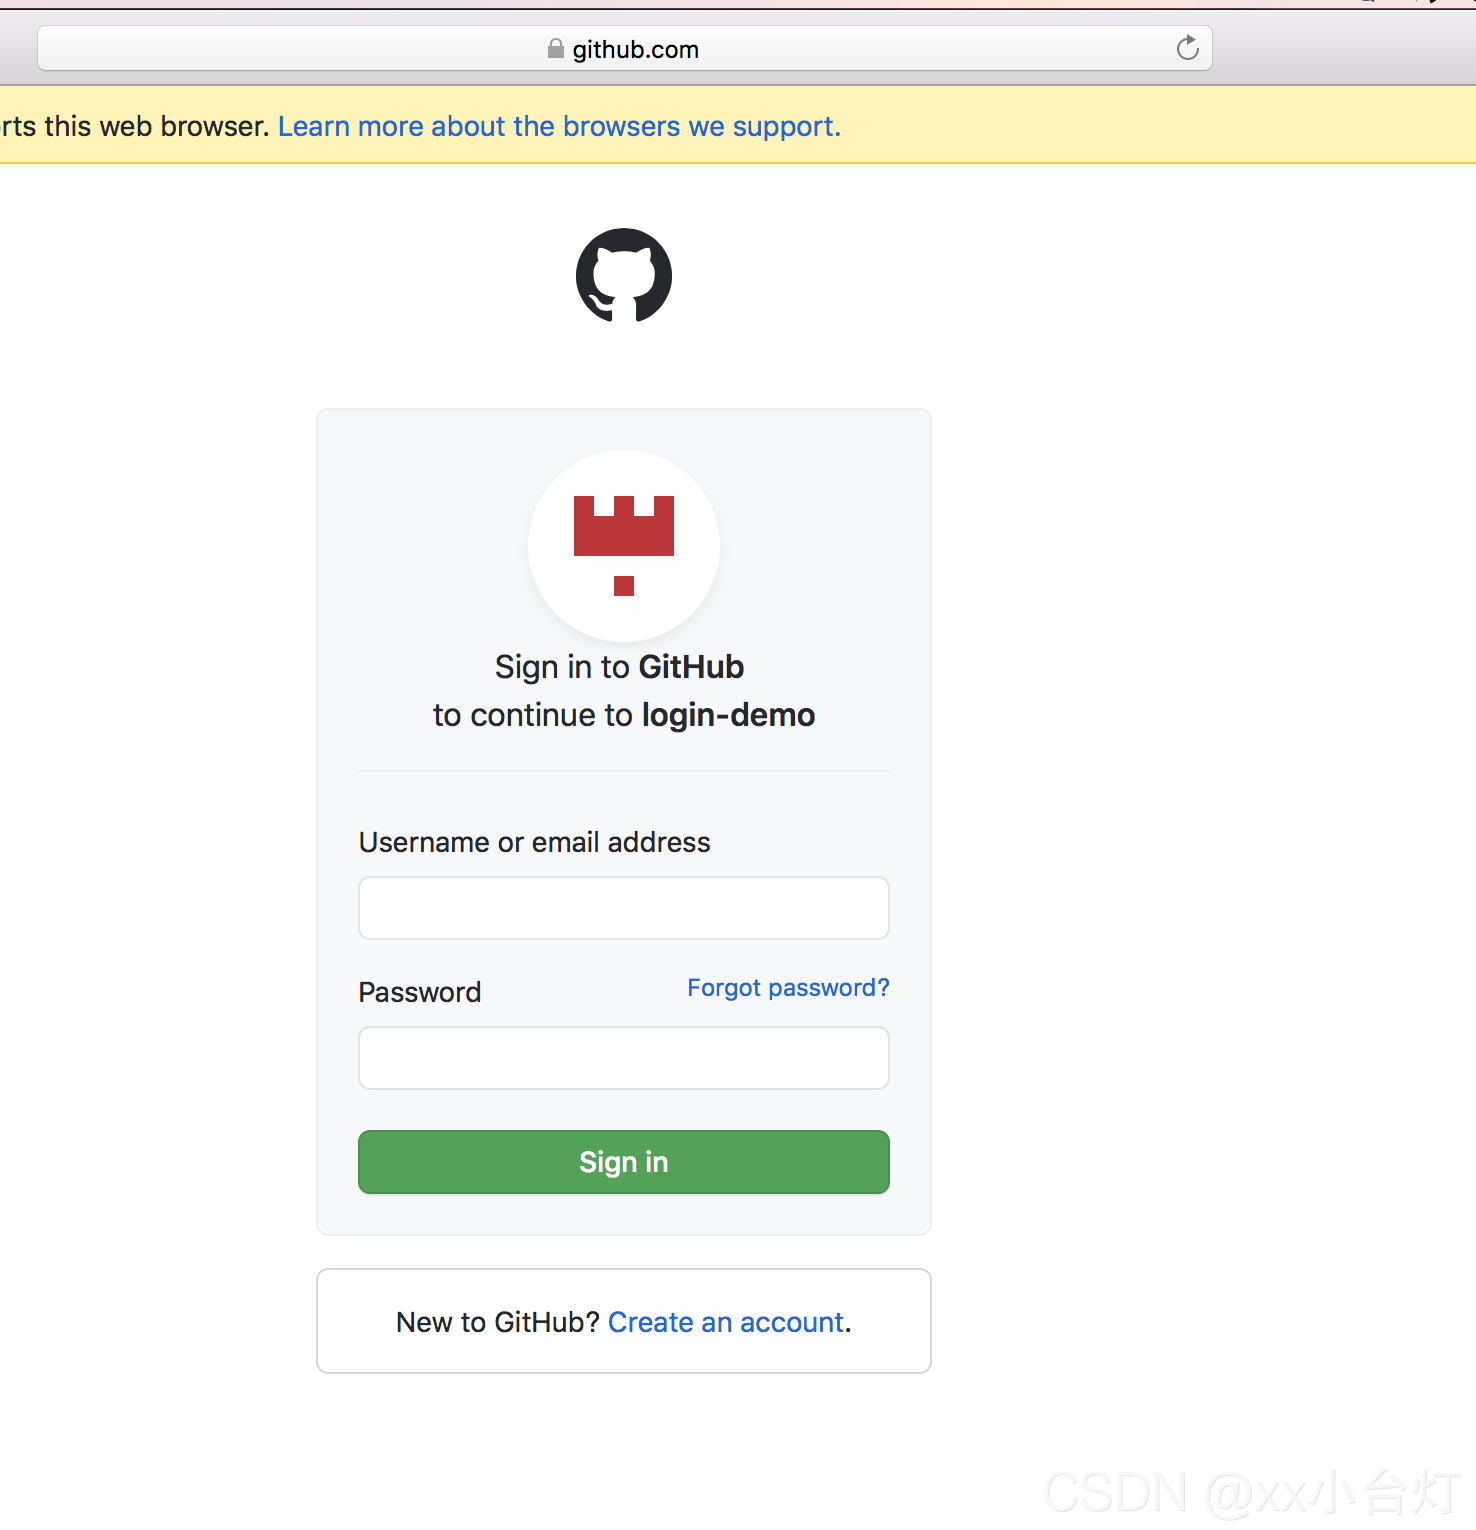
ЬјзЊЕНGithubЪкШЈвГУц
ЕувЛЯТGenerate a new client secretЛсЩњГЩвЛИіУидП,жЛЛсГіЯжвЛДЮ,вЊБЃДцКУЫќ,ВЛвЊаЙТЖГіШЅЁЃКѓУцЛсгУЕНЕФЁЃ
ЯТУцПЊЪМаДДњТыСЫ,жЛЪЧзівЛИіМђЕЅЕФЪОР§,УЛгаЬиБ№ИДдгЕФЁЃОЭЪЧЮФЕЕЖЅВПЕФЫФжжРраЭЁЃЭМЦЌЪЧдкiconfontевЕН,етИіВЛзіЙ§ЖрУшЪіСЫЁЃ
 function github() {
      location.href = `https://github.com/login/oauth/authorize?client_id=39b050937104c9618fee&redirect_uri=http://localhost/me.html`;
    }
ЕБЕуЛїGithubЭМБъжЎКѓЛсЕїгУетИіЗНЗЈ,ЬјзЊЕНЪкШЈвГУц,ЩЯУцФЧИігУЕНСНИіВЮЪ§
ЕїгУЗНЗЈжЎКѓЛсЬјзЊЕНетИівГУц,ЪфШыеЫКХУмТыЕЧТМОЭПЩвдСЫЁЃ
УмТыбщжЄГЩЙІжЎКѓЛсЬјзЊЕНhttp://localhost/me.html?code=ffwgregregregre,МЧзЁетИіcode,КѓУцЛсгУЕНЕФЁЃ
ЛёШЁЕНЪкШЈТы
дкЪкШЈвГУцЪкШЈГЩЙІжЎКѓ,ЛсЕУЕНвЛИіЪкШЈТы,ОЭЪЧЩЯУцЕФcode,ФУЕНетИіШЅКѓЬЈЗўЮёЛёШЁгУЛЇаХЯЂЁЃ
вЊЛёШЁЕНгУЛЇаХЯЂЪзвГвЊЪЙгУЪкШЈТыЕУЕНвЛИіСюХЦ,ЪЙгУетИіСюХЦЯђGithubЧыЧѓгУЛЇаХЯЂЁЃ
КѓЬЈЪЕЯж
@GetMapping("github/{code}")
public ResponseEntity getUserInfo(@PathVariable String code) {
String clientId = "";
String secret = "";
Proxy proxy = new Proxy(Proxy.Type.SOCKS, new InetSocketAddress("127.0.0.1", 1090));
String body = HttpRequest.post(
String.format("https://github.com/login/oauth/access_token?client_id=%s&client_secret=%s&code=%s", clientId, secret, code)
).header("accept", "application/json").
setProxy(proxy).
execute().
body();
GithubTokenResponse githubTokenResponse = JSON.parseObject(body, GithubTokenResponse.class);
String userInfo = HttpRequest.get("https://api.github.com/user").
setProxy(proxy).
header("accept", "application/json").
header("Authorization", "token " + githubTokenResponse.getAccess_token())
.execute().body();
return ResponseEntity.ok(userInfo);
}
GithubTokenResponse
public class GithubTokenResponse {

    private  String access_token;

    private  String scope;

    private  String token_type;
    }
ЧАЖЫвГУц
<body>
   <img id="avatar"  style="display: none" />
   <h1 id="name"></h1>
 </body>
  let code = getQueryVariable("code");
      ajaxGet("github/" + code, function (data) {
        let user = data;
        avatar.style.display = "block";
        avatar.src = user.avatar_url;
        document.getElementById("name").innerHTML = user.name;
      });
Gitee
GiteeКЭGithubЛљБОЪЧвЛбљЕФ,вВЪЧвЊЯШзЂВсвЛИігІгУ,ЕижЗдкетРя,ВЛЙ§ЖрУшЪіСЫ,жБНгЩЯДњТыЁЃ
КѓЖЫЪЕЯж
    @GetMapping("gitee/{code}")
    public ResponseEntity getGiteeUser(@PathVariable String code) {
        String clientId = "";
        String secret = "";
        String redirect_uri =  "http://localhost/gitee.html";
        String url = String.format(" https://gitee.com/oauth/token?grant_type=authorization_code&code=%s&client_id=%s&redirect_uri=%s&client_secret=%s", code, clientId, redirect_uri, secret);
        String body = HttpRequest.post(url).execute().body();
        GithubTokenResponse githubTokenResponse = JSON.parseObject(body, GithubTokenResponse.class);
        String userInfo = HttpRequest.get("https://gitee.com/api/v5/user?access_token=" + githubTokenResponse.getAccess_token()).execute().body();
        return ResponseEntity.ok(userInfo);
    }
ЧАЖЫЪЕЯж
гыGithubвЛжТ
Email
EmailЪЕЯжЕФЫМТЗДѓжТОЭЪЧ,ЪфШыгЪЯфжЎКѓ,КѓЬЈЛсЯђгЪЯфЗЂЫЭвЛИіСДНг,ЭЈЙ§етИіСДНгМЄЛюеЫЛЇЁЃ
ЗЂЫЭгЪМў
<body>
<input id="email" type="text" placeholder="гЪЯфЕижЗ" />
<button onclick="register()">зЂВс</button>
</body>
 <script>
    function register() {
      let value = email.value;
      if (value) {
        ajaxPost("email/create", { email: value }, function (data) {
          console.log(data);
        });
      }
    }
  </script>
@PostMapping("/email/create")
public ResponseEntity createEmailUrl(@RequestBody Map<String, String> map) throws UnsupportedEncodingException, MessagingException {
String token = JwtToken.makeToken(map.get("email"), "abc", 60 * 30);
SendEmail sendEmail = new SendEmail("123@qq.com", "password", "smtp.qq.com");
sendEmail.setSubject("гЪЯфзЂВс");
String emailContent = String.format("<a href='%sauthemail.html?code=%s'>ЕуЛїзЂВс</a>,30ЗжжгФкгааЇ", pageUrl, token);
sendEmail.addContent(emailContent);
sendEmail.addReceive(new ReceiveAccount(map.get("email"), "xx996гУЛЇ", Message.RecipientType.TO));
sendEmail.setPersonal("xx996ЙмРэдБ");
sendEmail.saveChange();
sendEmail.sendEmail();
return ResponseEntity.ok(token);
}
бщжЄгЪМў
КѓЖЫ
@GetMapping("/email/{code}")
public ResponseEntity emailInfo(@PathVariable String code) {
Map<String, String> map = new HashMap<>();
if (!JwtToken.verifyToken(code, "abc")) {
ResponseEntity.ok().body((map.put("mess", "ЩэЗнШЯжЄЪЇАм")));
}
String emial = JwtToken