很多邮箱使用SMTP协议发送邮件,都需要开启SMTP协议,获取授权码。
我用的是阿里云企业邮箱,不需要授权码,只需要开启SMTP协议后,使用该账号的密码就等于其他邮箱的授权码。
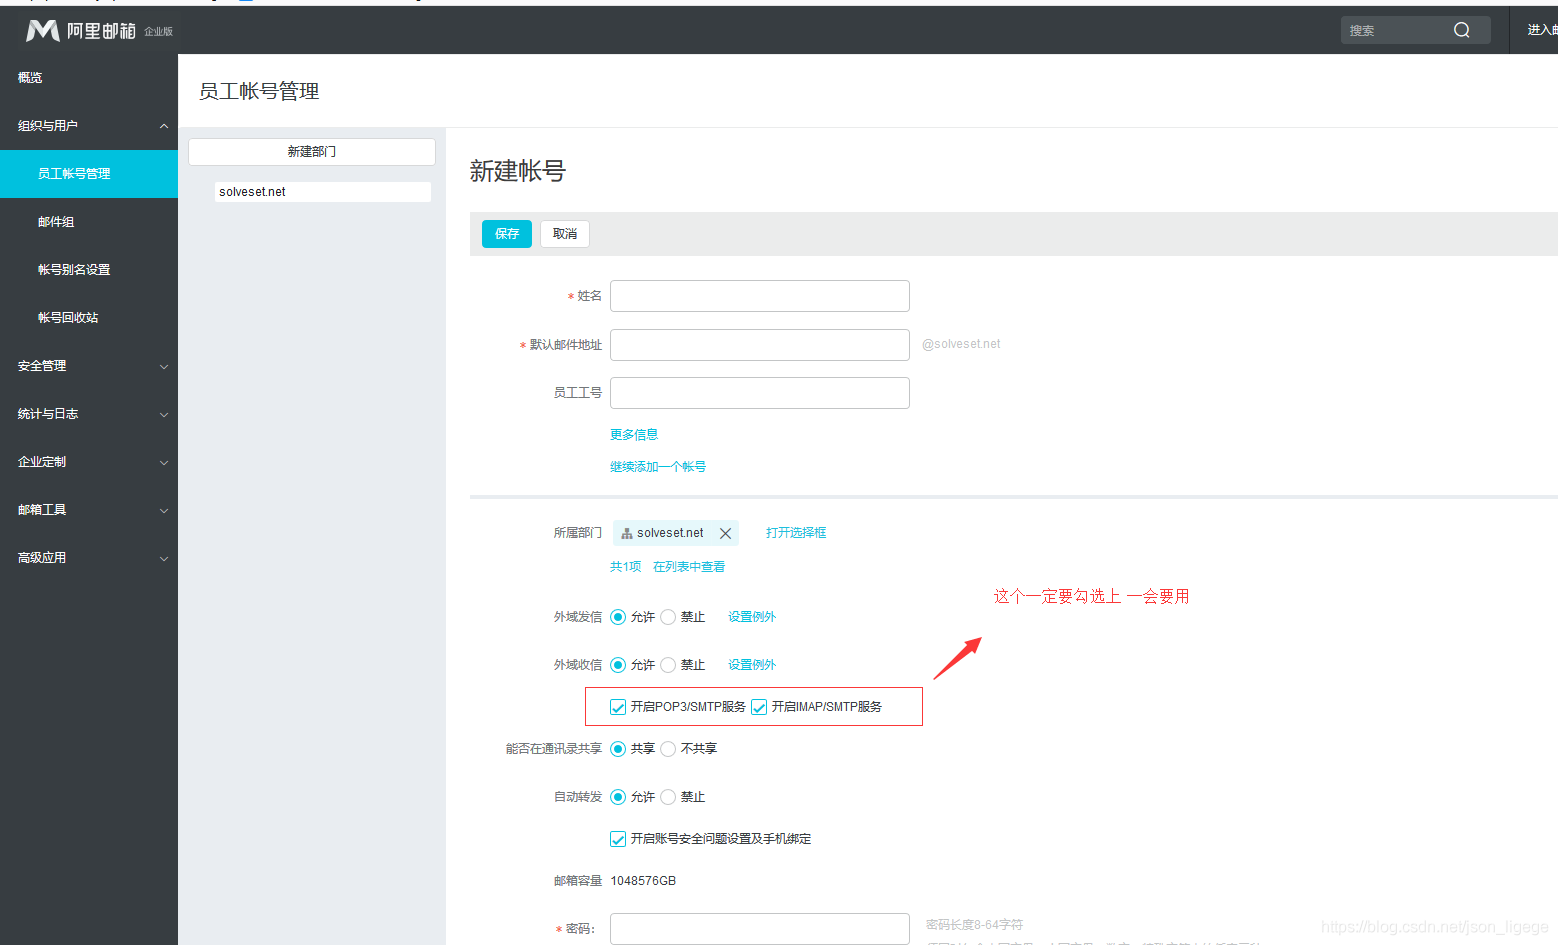
在阿里云企业邮箱管理后台分发一个账号
新增账号,主要用于发送邮件
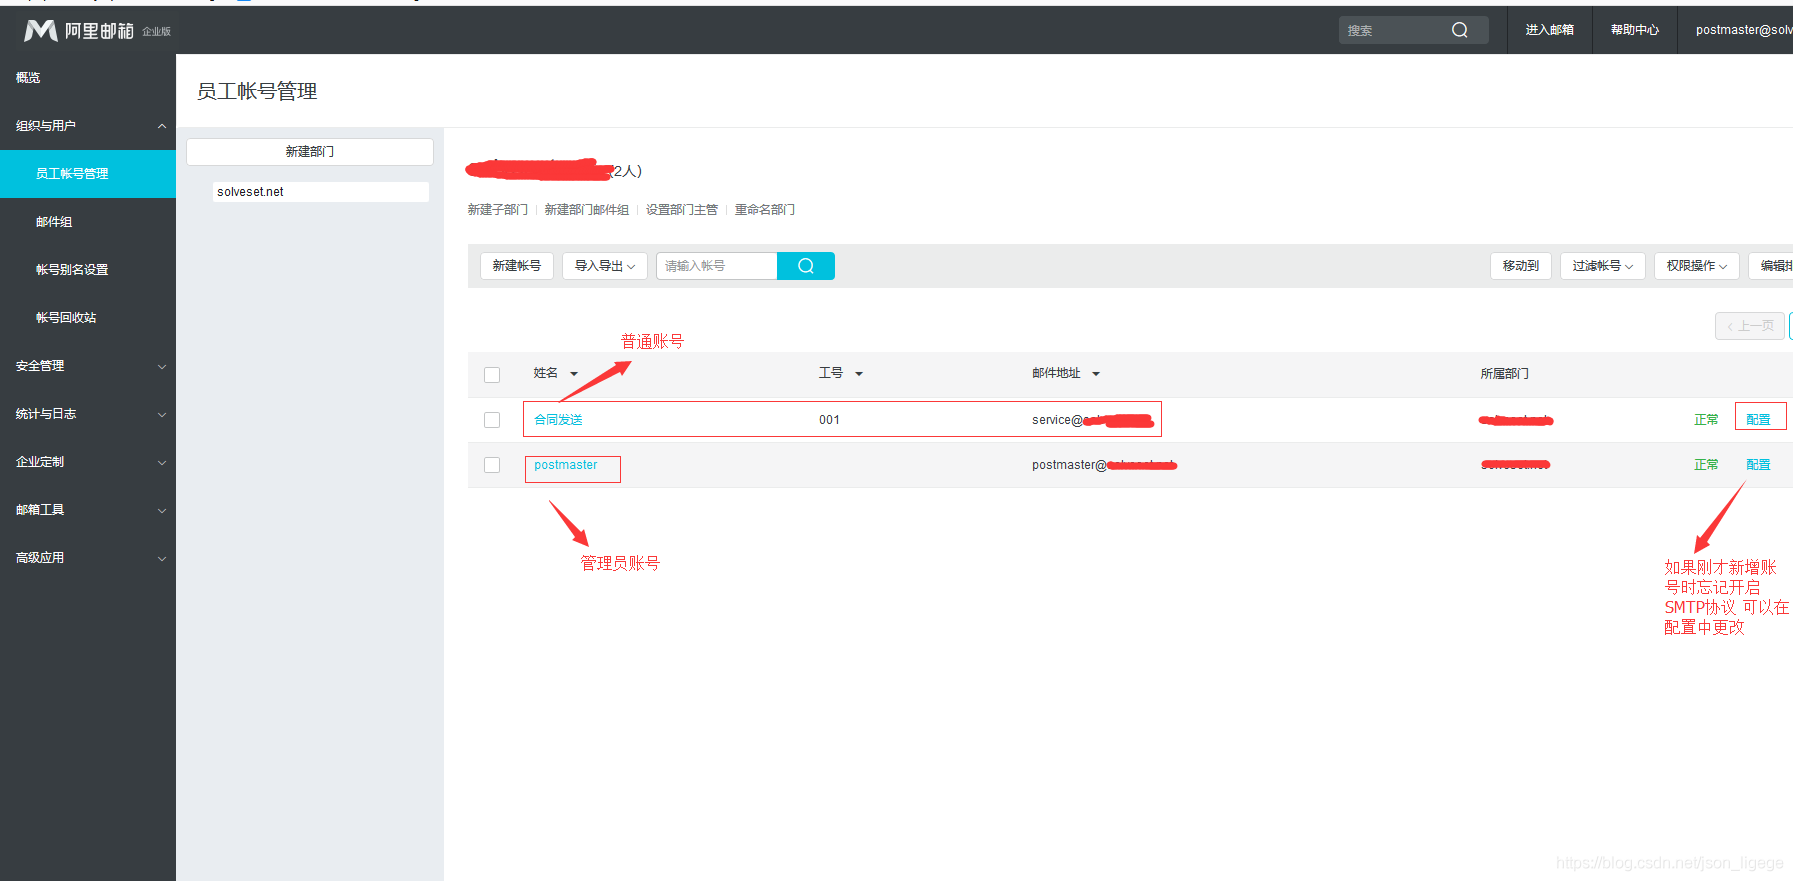
邮箱账号列表
这样邮箱服务器这方面已经做好了,接下来有一个在网上找到的可以使用的脚本来测试一下是否可以发送邮件
需要准备一个接收邮件地址。
代码如下:
class Mailer
{
    private $host;
    private $port = 25;
    private $user;
    private $pass;
    private $debug = false;
    private $sock;

    public function __construct($host,$port,$user,$pass,$debug = false)
    {
        $this->host = $host;
        $this->port = $port;
        $this->user = base64_encode($user); //用户名密码一定要使用base64编码才行
        $this->pass = base64_encode($pass);
        $this->debug = $debug;
        //socket连接
        $this->sock = fsockopen($this->host,$this->port);
        if(!$this->sock){
            exit('出错啦');
        }
        //读取smtp服务返回给我们的数据
        $response = fgets($this->sock);
        $this->debug($response);
        //如果响应中有220返回码,说明我们连接成功了
        if(strstr($response,'220') === false){
            exit('出错啦');
        }
    }

    //发送SMTP指令,不同指令的返回码可能不同
    public function execCommand($cmd,$return_code)
    {
        fwrite($this->sock,$cmd);

        $response = fgets($this->sock);
        //输出调试信息
        $this->debug('cmd:'.$cmd .';response:'.$response);
        if(strstr($response,$return_code) === false){
            return false;
        }
        return true;
    }

    public function sendMail($from,$to,$subject,$body)
    {
        //detail是邮件的内容,一定要严格按照下面的格式,这是协议规定的
        $detail = 'From:'.$from."\r\n";
        $detail .= 'To:'.$to."\r\n";
        $detail .= 'Subject:'.$subject."\r\n";
        $detail .= 'Content-Type: Text/html;'."\r\n";
        $detail .= 'charset=gb2312'."\r\n\r\n";
        $detail .= $body;
        $this->execCommand("HELO ".$this->host."\r\n",250);
        $this->execCommand("AUTH LOGIN\r\n",334);
        $this->execCommand($this->user."\r\n",334);
        $this->execCommand($this->pass."\r\n",235);
        $this->execCommand("MAIL FROM:<".$from.">\r\n",250);
        $this->execCommand("RCPT TO:<".$to.">\r\n",250);
        $this->execCommand("DATA\r\n",354);
        $this->execCommand($detail."\r\n.\r\n",250);
        $this->execCommand("QUIT\r\n",221);
    }

    public function debug($message)
    {
        if($this->debug){
            echo '<p>Debug:'.$message . PHP_EOL .'</p>';
        }
    }

    public function __destruct()
    {
        fclose($this->sock);
    }

}

//调用示例
$port = 25;
$user = 'ni@163.com'; //请替换成你自己的smtp用户名
$pass = 'xxxxxx'; //请替换成你自己的smtp密码
$host = 'smtp.xxx.com';//smtp+你的域名
$from = 'ni@163.com';
$to = 'xxx@163.com';//收件邮箱地址
$body = 'hello world';
$subjet = '我是测试';//主题
$mailer = new Mailer($host,$port,$user,$pass,true);
$mailer->sendMail($from,$to,$subjet,$body);die;
浏览器访问:
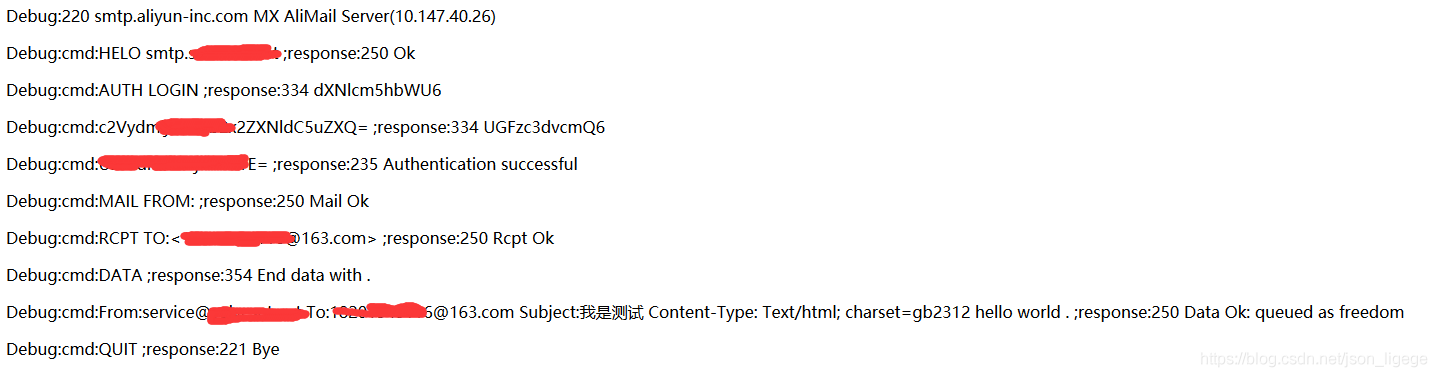
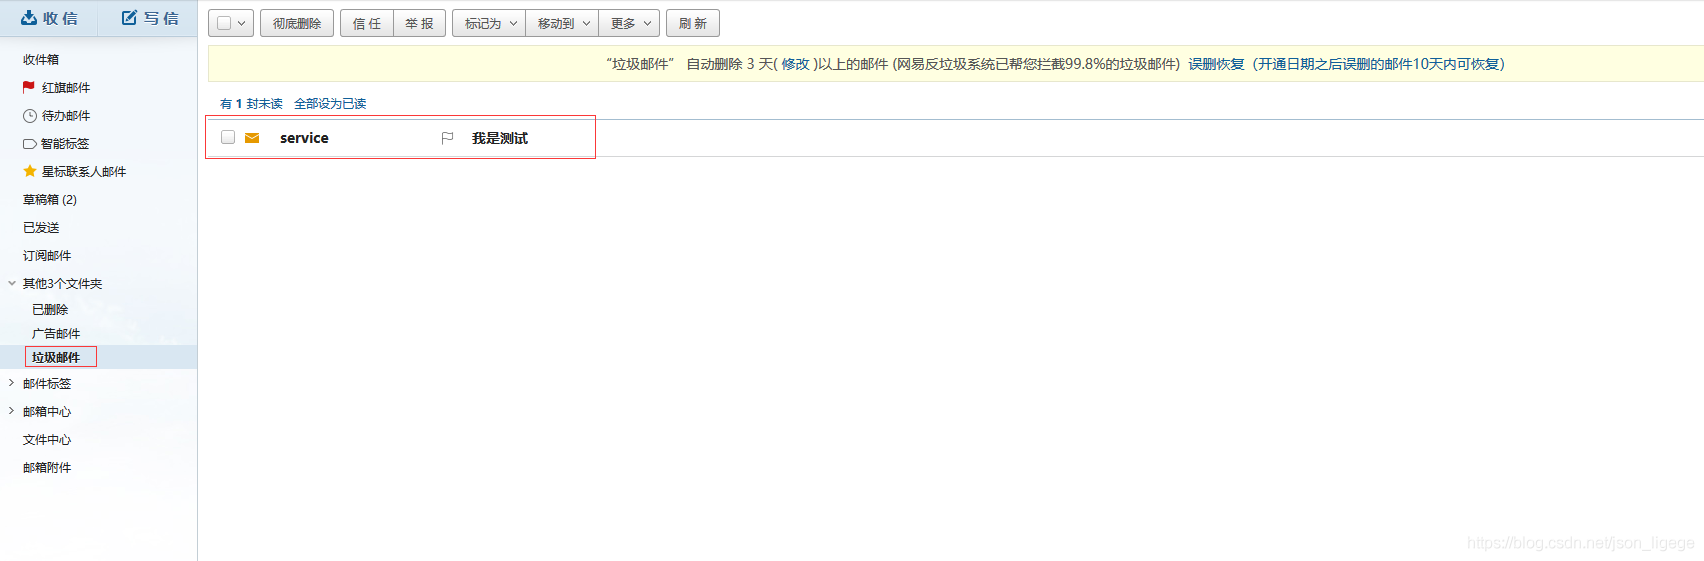
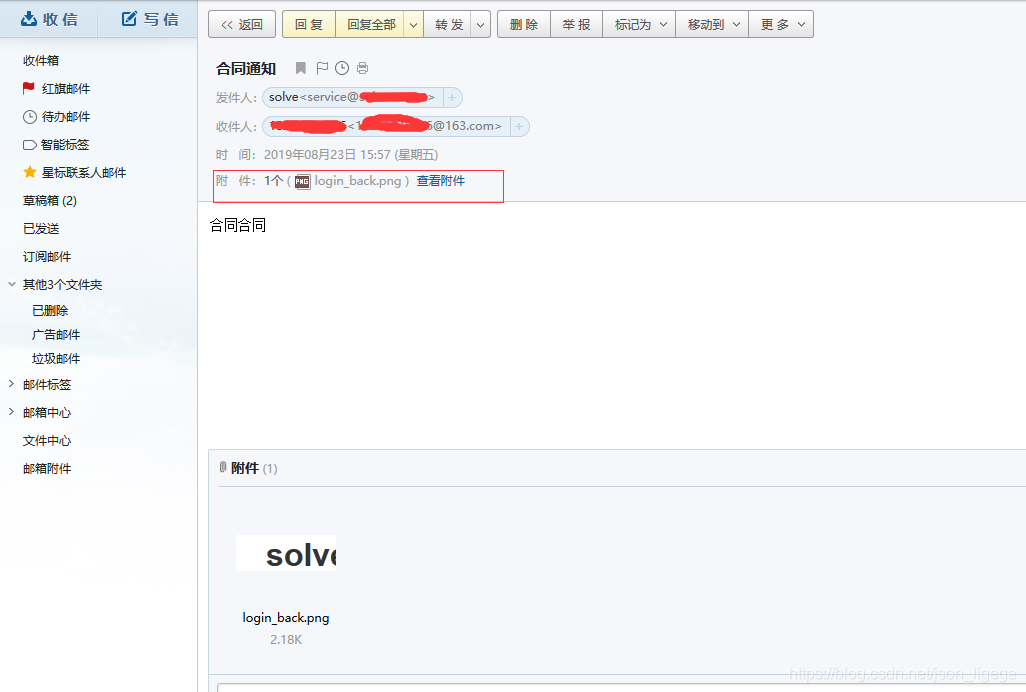
显示发送成功,查看一下邮箱
收件箱里面没有,在垃圾箱里,有时候邮件会在垃圾箱里被发现,应该是匹配垃圾的规则所导致的,可以更改一下主题试试
测试成功,就可以集成到laravel中了。
更改laravel 配置文件中的mail.php就可以了,不需要加载其他配置
laravel 配置文件路径
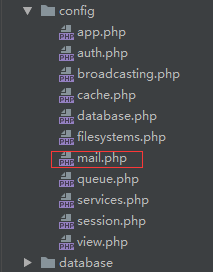
请参考一下配置内容进行修改
<?php

return [

    /*
    |--------------------------------------------------------------------------
    | Mail Driver
    |--------------------------------------------------------------------------
    |
    | Laravel supports both SMTP and PHP's "mail" function as drivers for the
    | sending of e-mail. You may specify which one you're using throughout
    | your application here. By default, Laravel is setup for SMTP mail.
    |
    | Supported: "smtp", "sendmail", "mailgun", "mandrill", "ses",
    |            "sparkpost", "log", "array"
    |
    */

    'driver' => 'smtp',#改成smtp

    /*
    |--------------------------------------------------------------------------
    | SMTP Host Address
    |--------------------------------------------------------------------------
    |
    | Here you may provide the host address of the SMTP server used by your
    | applications. A default option is provided that is compatible with
    | the Mailgun mail service which will provide reliable deliveries.
    |
    */

    'host' => 'smtp.xxx.com',#改成你的host

    /*
    |--------------------------------------------------------------------------
    | SMTP Host Port
    |--------------------------------------------------------------------------
    |
    | This is the SMTP port used by your application to deliver e-mails to
    | users of the application. Like the host we have set this value to
    | stay compatible with the Mailgun e-mail application by default.
    |
    */

    'port' => 25,#端口我这里使用的是25 没有使用ssl加密

    /*
    |--------------------------------------------------------------------------
    | Global "From" Address
    |--------------------------------------------------------------------------
    |
    | You may wish for all e-mails sent by your application to be sent from
    | the same address. Here, you may specify a name and address that is
    | used globally for all e-mails that are sent by your application.
    |
    */

    'from' => [
        'address' => 'service@xxx.com',//发送地址
        'name' => 'service',//邮件发送人名称
    ],

    /*
    |--------------------------------------------------------------------------
    | E-Mail Encryption Protocol
    |--------------------------------------------------------------------------
    |
    | Here you may specify the encryption protocol that should be used when
    | the application send e-mail messages. A sensible default using the
    | transport layer security protocol should provide great security.
    |
    */

    'encryption' => '',#去掉加密

    /*
    |--------------------------------------------------------------------------
    | SMTP Server Username
    |--------------------------------------------------------------------------
    |
    | If your SMTP server requires a username for authentication, you should
    | set it here. This will get used to authenticate with your server on
    | connection. You may also set the "password" value below this one.
    |
    */

    'username' => 'service@xxx.com',#发送人邮箱账号

    'password' => 'xxxxxx',#密码

    /*
    |--------------------------------------------------------------------------
    | Sendmail System Path
    |--------------------------------------------------------------------------
    |
    | When using the "sendmail" driver to send e-mails, we will need to know
    | the path to where Sendmail lives on this server. A default path has
    | been provided here, which will work well on most of your systems.
    |
    */

    'sendmail' => '/usr/sbin/sendmail -bs',

    /*
    |--------------------------------------------------------------------------
    | Markdown Mail Settings
    |--------------------------------------------------------------------------
    |
    | If you are using Markdown based email rendering, you may configure your
    | theme and component paths here, allowing you to customize the design
    | of the emails. Or, you may simply stick with the Laravel defaults!
    |
    */

    'markdown' => [
        'theme' => 'default',

        'paths' => [
            resource_path('views/vendor/mail'),
        ],
    ],

];
配置路由
Route::match(['POST', 'GET'], '/admin/login', 'Admin\AdminLoginController@login');
控制器
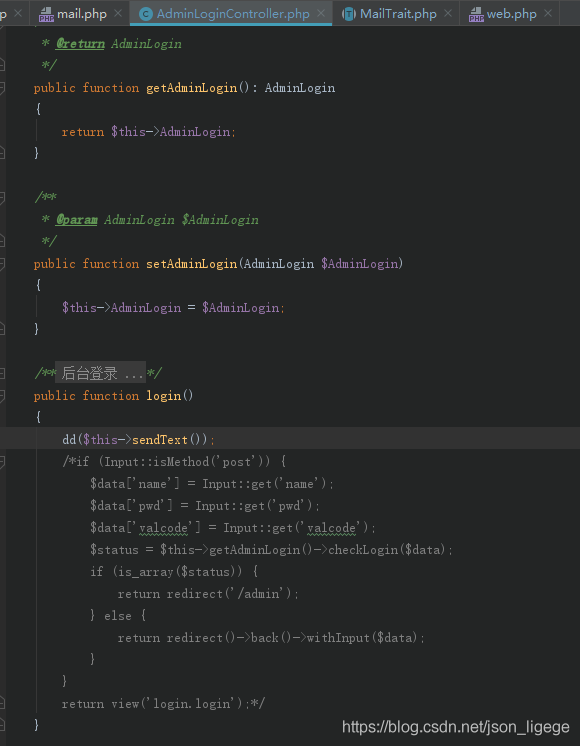
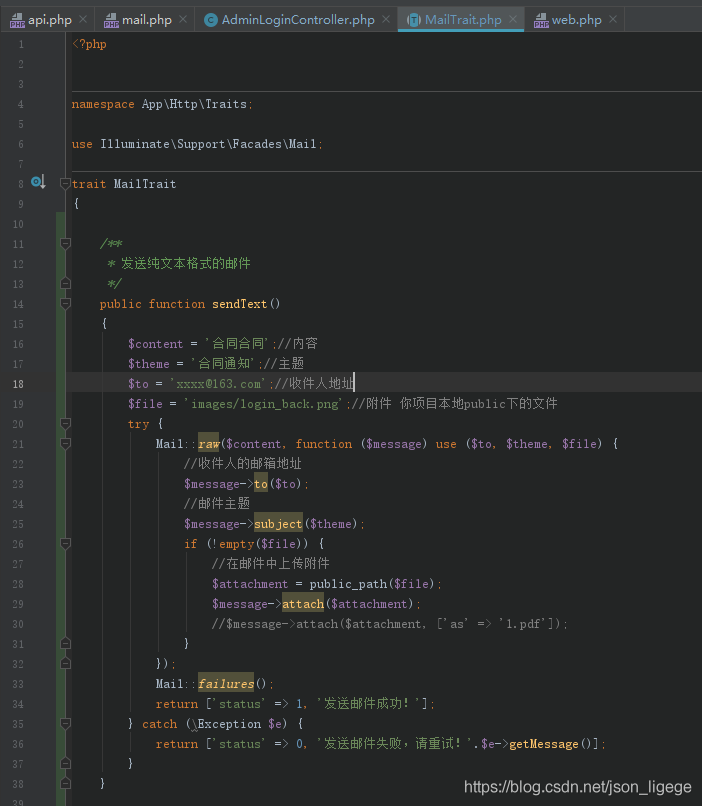
Trait
浏览器访问
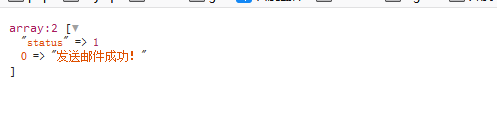
去邮箱查看:
这样就完成了,在封装一下参数,改活参数,就可以使用了!
cs