import numpy as np
import cv2 as cv
def nothing(x):
pass
targetPos_x = 0
targetPos_y = 0
lastPos_x = 0
lastPos_y = 0
cv.namedWindow("image", 0)
cv.resizeWindow("image", 1000, 750)
cv.namedWindow('image')
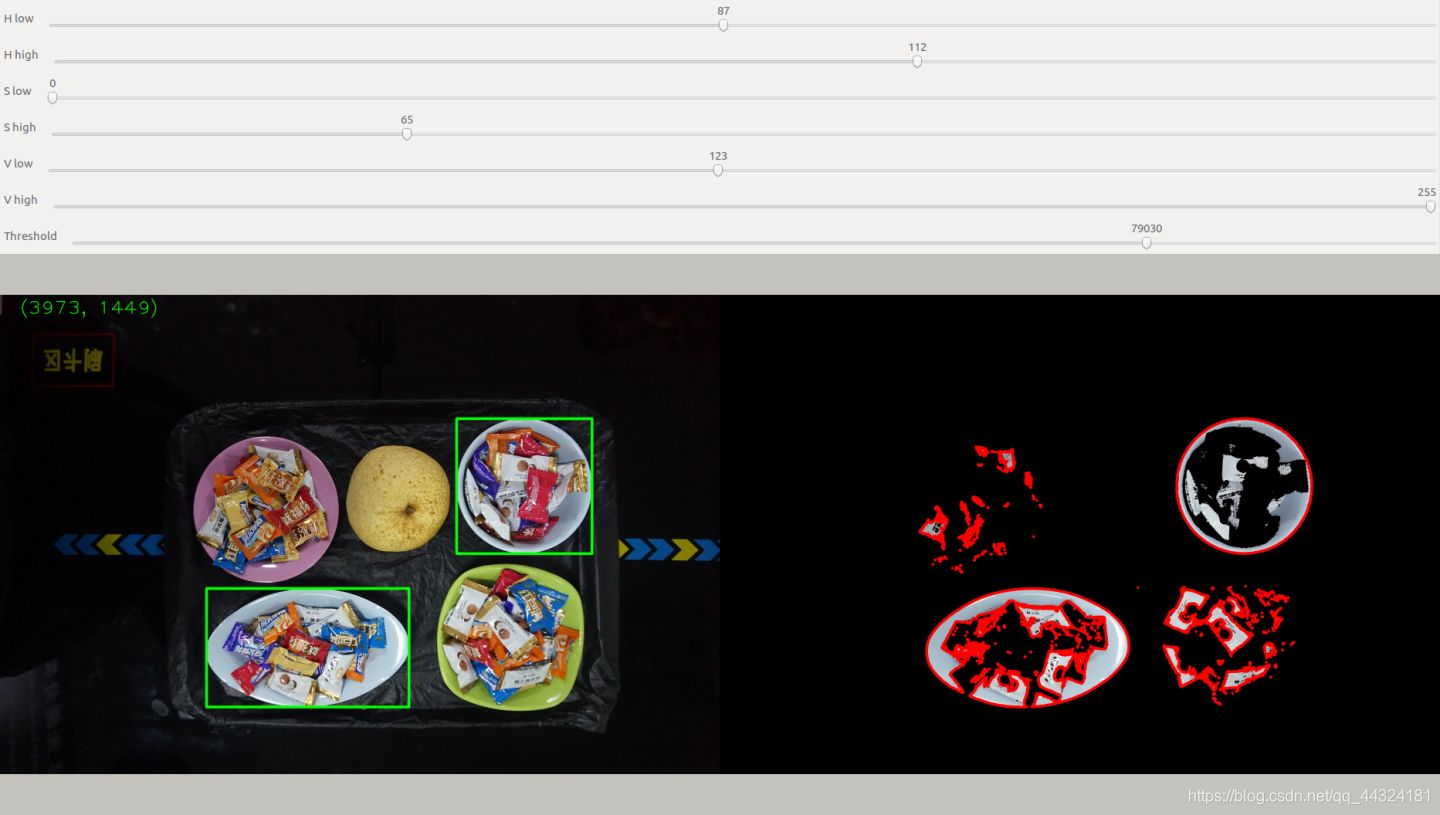
cv.createTrackbar('H low', 'image', 14, 179, nothing)
cv.createTrackbar('H high', 'image', 27, 179, nothing)
cv.createTrackbar('S low', 'image', 107, 255, nothing)
cv.createTrackbar('S high', 'image', 199, 255, nothing)
cv.createTrackbar('V low', 'image', 131, 255, nothing)
cv.createTrackbar('V high', 'image', 226, 255, nothing)
cv.createTrackbar('Threshold', 'image', 100000, 700000, nothing)
while (1):
img = cv.imread('DSC04716.JPG')
hsv = cv.cvtColor(img, cv.COLOR_BGR2HSV)
k = cv.waitKey(1) & 0xFF
if k == 27:
break
H_low = cv.getTrackbarPos('H low', 'image')
H_high = cv.getTrackbarPos('H high', 'image')
S_low = cv.getTrackbarPos('S low', 'image')
S_high = cv.getTrackbarPos('S high', 'image')
V_low = cv.getTrackbarPos('V low', 'image')
V_high = cv.getTrackbarPos('V high', 'image')
threshold = cv.getTrackbarPos('Threshold', 'image')
lower_color = np.array([H_low, S_low, V_low])
high_color = np.array([H_high, S_high, V_high])
mask = cv.inRange(hsv, lower_color, high_color)
res = cv.bitwise_and(img, img, mask=mask)
_, contours, hierarchy = cv.findContours(mask, cv.RETR_EXTERNAL,
cv.CHAIN_APPROX_NONE)
cv.drawContours(res, contours, -1, (0, 0, 255), 20)
x, y, w, h = 0, 0, 0, 0
for cnt in contours:
area = cv.contourArea(cnt)
if area > threshold:
x, y, w, h = cv.boundingRect(cnt)
lastPos_x = targetPos_x
lastPos_y = targetPos_y
targetPos_x = int(x + w / 2)
targetPos_y = int(y + h / 2)
cv.rectangle(img, (x, y), (x + w, y + h), (0, 255, 0), 20)
cv.putText(img, "({:0<2d}, {:0<2d})".format(targetPos_x, targetPos_y),
(150, 150), cv.FONT_HERSHEY_PLAIN, 10, (0, 255, 0), 5)
imgs = np.hstack([img, res])
cv.imshow('image', imgs)
cv.destroyAllWindows()
cv.imwrite('result.jpg', imgs)
cs