Python实现图像处理:PiL依赖库的应用
本文包含的练习题主要是PIL依赖库,即pillow相关的应用。
练习一:使用python给图片增加数字
实现思路:
- 使用PIL的Image.open导入图片。
- 获取图片的大小。
- 调用ImageDraw,在图片的指定位置写上数字。
#coding=utf-8
#Auther by Alice
#在图片的右上角增加一个数字
from PIL import Image,ImageFont,ImageDraw
image = Image.open('/Users/alice/Documents/Photo/IMG_8379.JPG')
#打开原图
wight, hight = image.size
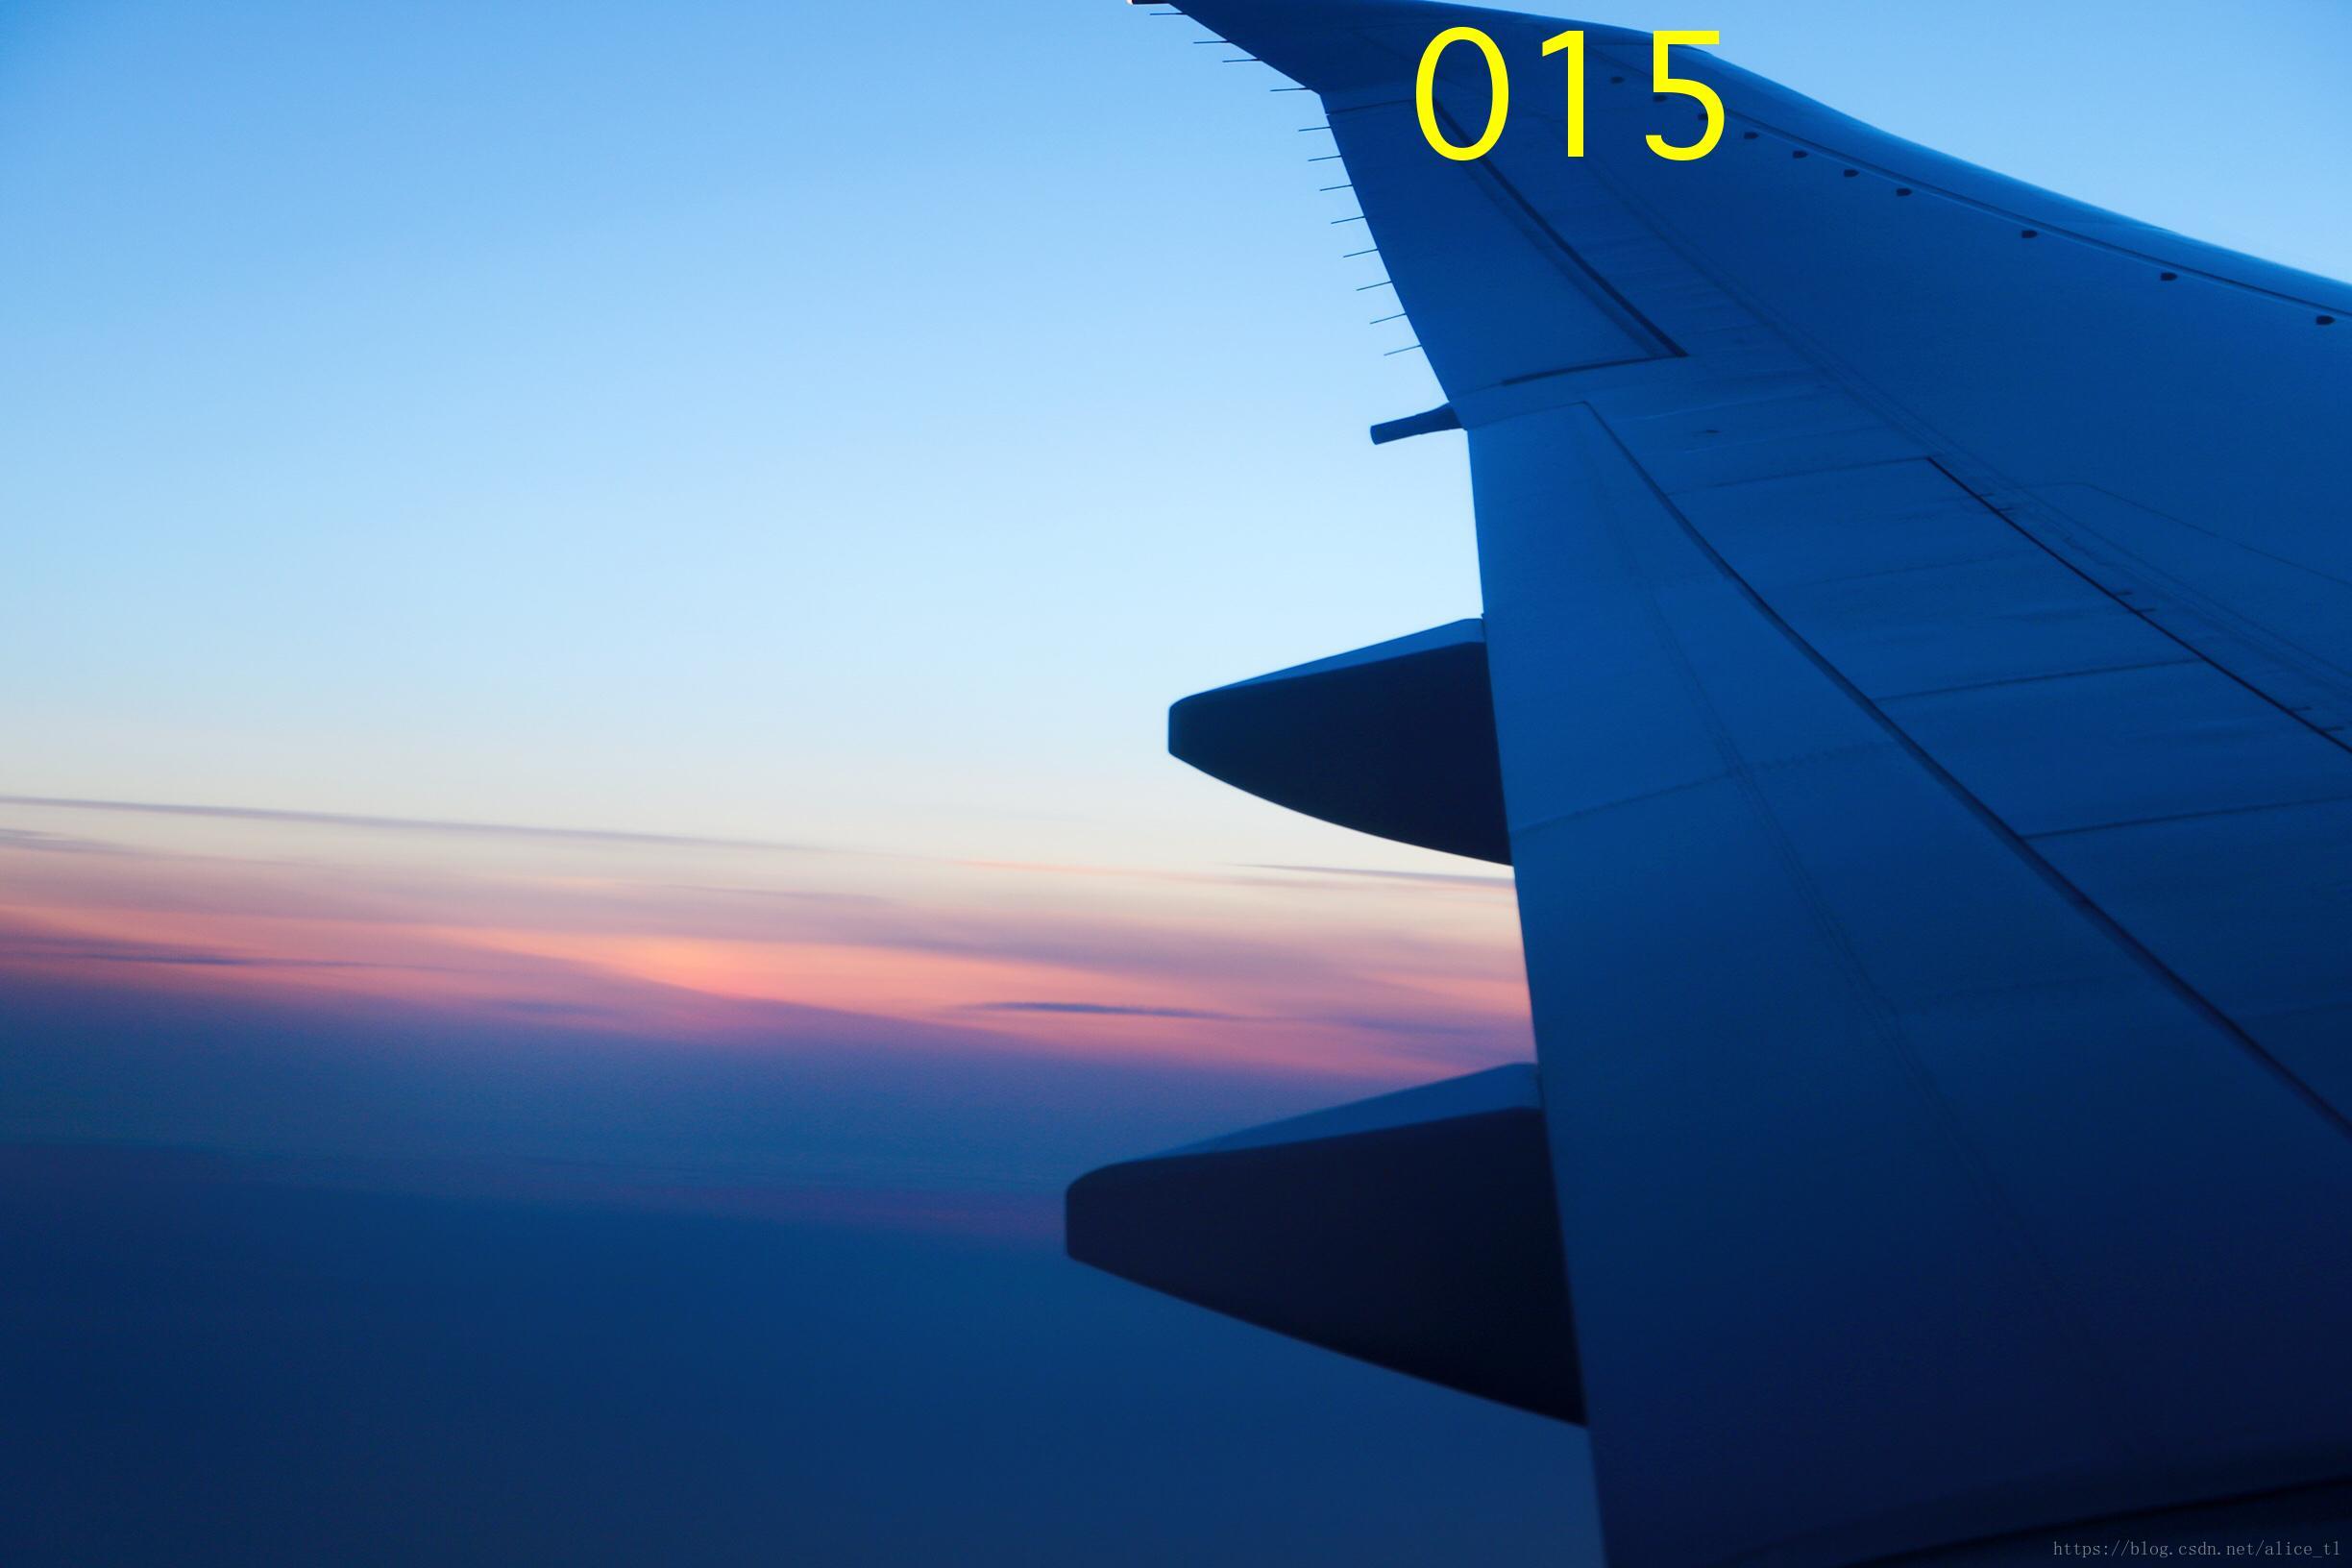
text = "015"
color = (255,255,0)
fontsize = wight//10
font = ImageFont.truetype('Apple Symbols',fontsize)
#设定增加的数字的参数,数字内容、数字颜色和数字字号
draw = ImageDraw.Draw(image)
draw.text((fontsize*6,0), text, color, font)
image.save('/Users/alice/Documents/Photo/IMG_7997.JPG', 'jpeg')
#保存添加了数字之后的图片
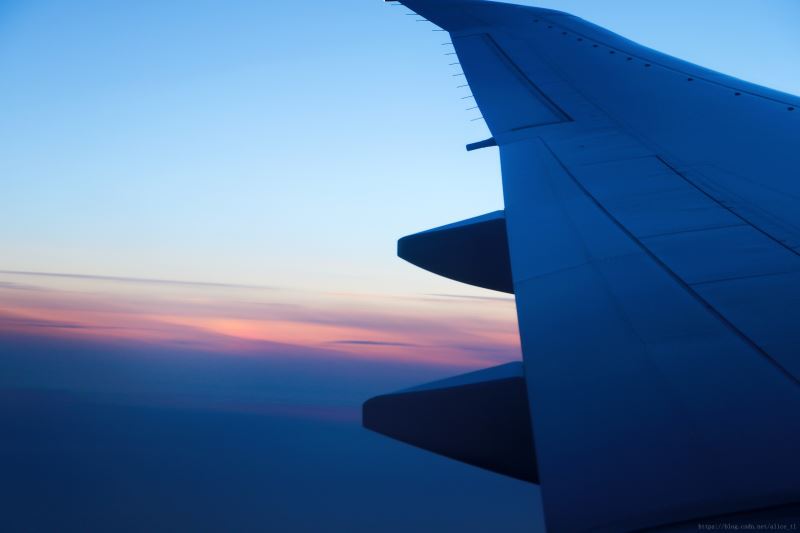
实现前:
实现后:
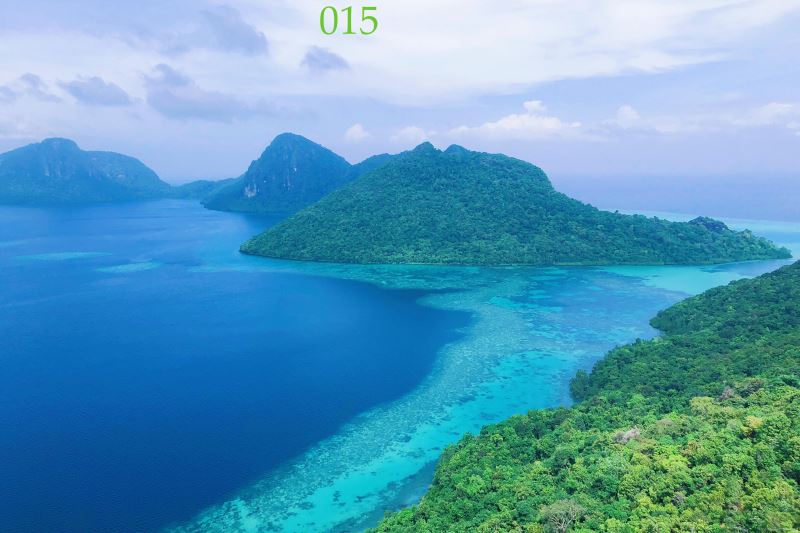
修改其中两行代码字体和颜色如下后,
color = (105,200,45)
font = ImageFont.truetype('Palatino.ttc',fontsize)
则运行的结果为:
练习二:使用python将一个图片放大缩小
实现思路:
- 使用PIL,即Python图像标准依赖库。
- 使用open打开本地图片。
- 使用image.thumbnail放大缩小图片
#coding by alice
#coding=utf-8

from PIL import Image

im = Image.open('/Users/alice/Documents/Develop/PythonCode/test.JPG')
# 打开一个路径下的指定jpg图像文件
w,h = im.size
# 获得图像尺寸
im.thumbnail((w//10, h//10))
# 缩放到10%
im.save('/Users/alice/Documents/Develop/PythonCode/test2.JPG', 'jpeg')
# 把缩放后的图像用jpeg格式保存:
等同于代码:
#coding by alice
#coding=utf-8

from PIL import Image

image = Image.open('/Users/alice/Documents/Develop/PythonCode/test.JPG')
# 打开一个路径下的指定jpg图像文件
wight,hight = image.size
# 获得图像尺寸
image.thumbnail((weight//10, high//10))
# 缩放到10%
image.save('/Users/alice/Documents/Develop/PythonCode/test2.JPG', 'jpeg')
# 把缩放后的图像用jpg格式保存:
运行后的效果为:

练习三:使用python将一个图片实现模糊
实现思路:
- 使用PIL,即Python图像标准依赖库。
- 使用open打开本地图片。
- 使用image.thumbnail放大缩小图片
#coding by alice
#coding=utf-8

from PIL import Image
from PIL import ImageFilter

image = Image.open('/Users/alice/Documents/Develop/PythonCode/test.JPG')
# 打开一个路径下的jpg图像文件
image = image.filter(ImageFilter.BLUR)
# 应用模糊滤镜
image.save('/Users/alice/Documents/Develop/PythonCode/test3.JPG', 'jpeg')
#保存图片
运行后的结果为

如果是静物或者人脸,放大后看则模糊效果会更明显。

练习四:使用python获取一个图片的元素坐标
实现思路:
- 使用PIL,即Python图像标准依赖库。
- 使用open打开本地图片。
- 使用imshow显示图像
- 获取图片上点击光标,输出坐标
#coding by alice
#coding=utf-8
from PIL import Image
import matplotlib.pyplot as plt
image = Image.open('/Users/alice/Documents/Develop/PythonCode/test.JPG')
#打开所在位置及图像的名称
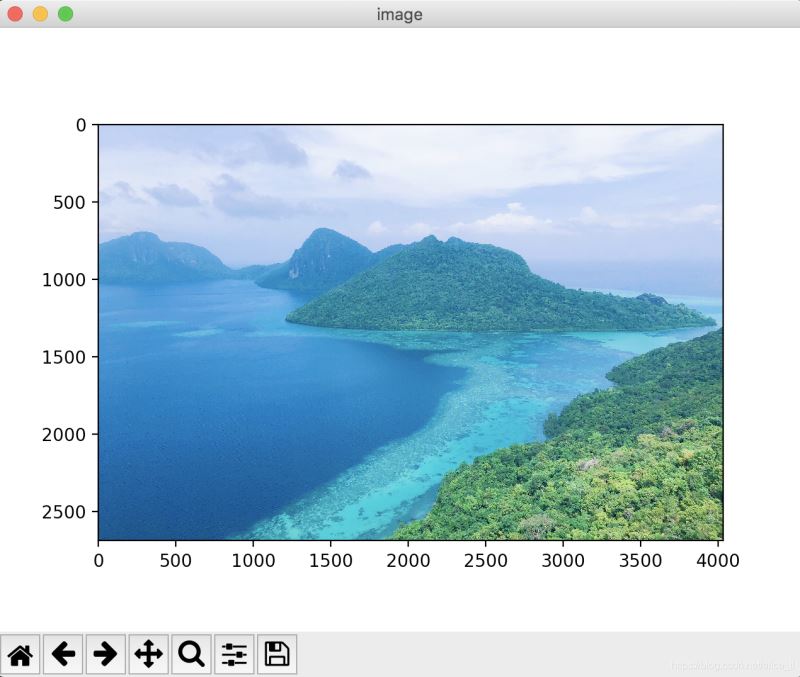
plt.figure('image')
#图像窗口名称
plt.imshow(image)
plt.show()
jsjbwy