上一章节介绍了PySide2的安装以及如何去启动程序进行页面设计,并且将工具集成到pycharm的扩展工具中去,有2个地方写的不对,用的是pyuic工具,需要改一下,改成pyside2-uic.exe。具体改动点:
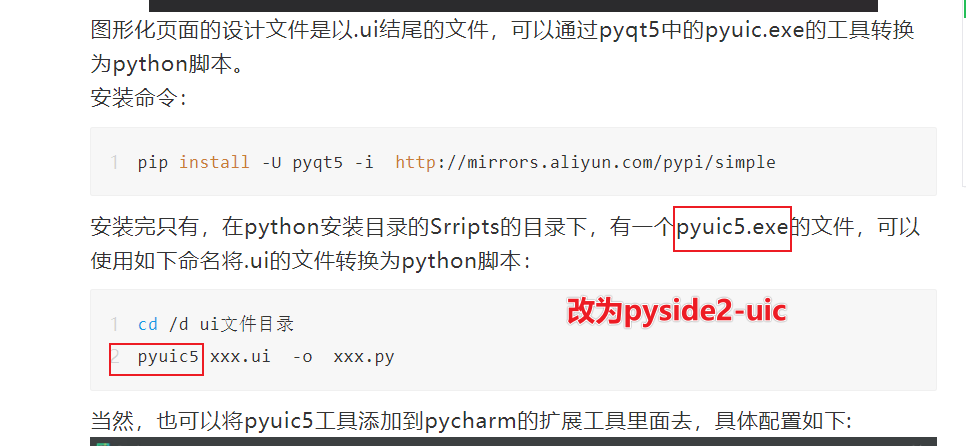
pycharm扩展工具中的配置也需要调整一下:

上一篇的配置写的是pyqt5的配置,这里主要采用PySide2进行学习。
修改为正确的配置后,鼠标选中ui文件,右键选择扩展工具中的pyside2-uic就可以转换为python脚本。
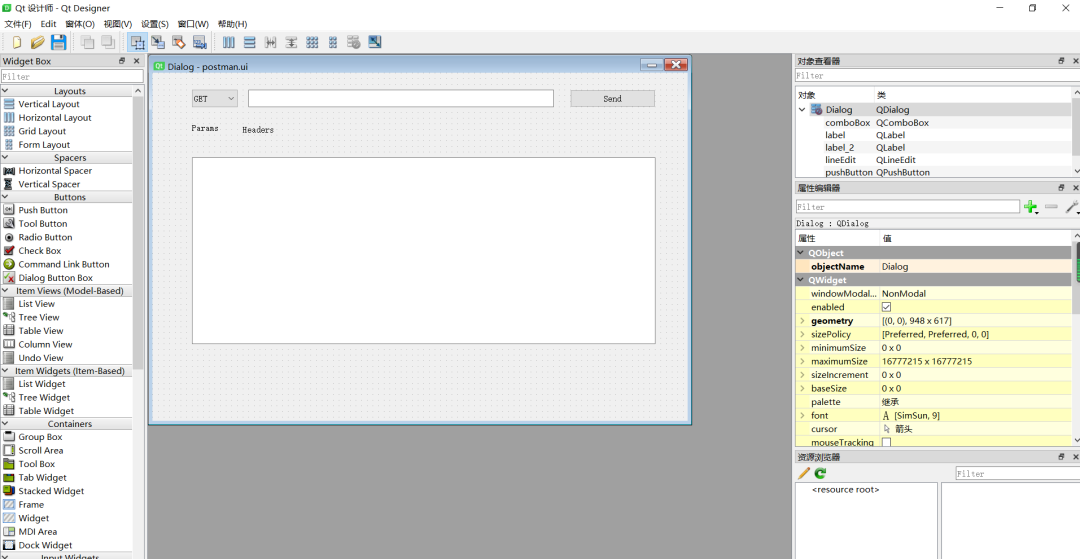
先看一下我画的一个简单的GUI页面:
保存页面文件后,后缀是.ui的格式,用文本文件打开的话,内容是xml格式的:
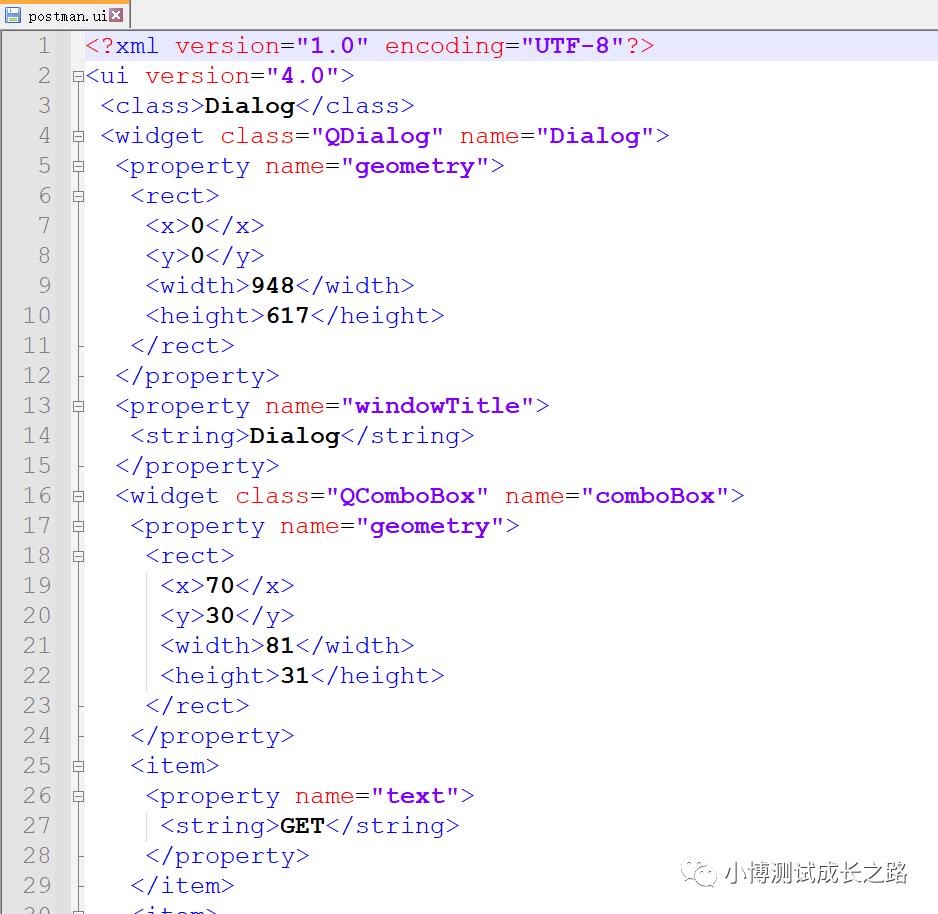
postman.ui源码:
<?xml version="1.0" encoding="UTF-8"?>
<ui version="4.0">
 <class>Dialog</class>
 <widget class="QDialog" name="Dialog">
  <property name="geometry">
   <rect>
    <x>0</x>
    <y>0</y>
    <width>948</width>
    <height>617</height>
   </rect>
  </property>
  <property name="windowTitle">
   <string>Dialog</string>
  </property>
  <widget class="QComboBox" name="comboBox">
   <property name="geometry">
    <rect>
     <x>70</x>
     <y>30</y>
     <width>81</width>
     <height>31</height>
    </rect>
   </property>
   <item>
    <property name="text">
     <string>GET</string>
    </property>
   </item>
   <item>
    <property name="text">
     <string>POST</string>
    </property>
   </item>
  </widget>
  <widget class="QLineEdit" name="lineEdit">
   <property name="geometry">
    <rect>
     <x>170</x>
     <y>30</y>
     <width>541</width>
     <height>31</height>
    </rect>
   </property>
  </widget>
  <widget class="QPushButton" name="pushButton">
   <property name="geometry">
    <rect>
     <x>740</x>
     <y>30</y>
     <width>151</width>
     <height>31</height>
    </rect>
   </property>
   <property name="text">
    <string>Send</string>
   </property>
  </widget>
  <widget class="QLabel" name="label">
   <property name="geometry">
    <rect>
     <x>70</x>
     <y>90</y>
     <width>72</width>
     <height>15</height>
    </rect>
   </property>
   <property name="text">
    <string>Params</string>
   </property>
  </widget>
  <widget class="QLabel" name="label_2">
   <property name="geometry">
    <rect>
     <x>160</x>
     <y>90</y>
     <width>121</width>
     <height>21</height>
    </rect>
   </property>
   <property name="text">
    <string>Headers</string>
   </property>
  </widget>
  <widget class="QTextEdit" name="textEdit">
   <property name="geometry">
    <rect>
     <x>70</x>
     <y>150</y>
     <width>821</width>
     <height>331</height>
    </rect>
   </property>
  </widget>
 </widget>
 <resources/>
 <connections/>
</ui>
转换之后的python脚本:postman.py
# -*- coding: utf-8 -*-


################################################################################
## Form generated from reading UI file 'postman.ui'
##
## Created by: Qt User Interface Compiler version 5.15.2
##
## WARNING! All changes made in this file will be lost when recompiling UI file!
################################################################################


from PySide2.QtCore import *
from PySide2.QtGui import *
from PySide2.QtWidgets import *


class Ui_Dialog(object):
    def setupUi(self, Dialog):
        if not Dialog.objectName():
            Dialog.setObjectName(u"Dialog")
        Dialog.resize(948, 617)
        self.comboBox = QComboBox(Dialog)
        self.comboBox.addItem("")
        self.comboBox.addItem("")
        self.comboBox.setObjectName(u"comboBox")
        self.comboBox.setGeometry(QRect(70, 30, 81, 31))
        self.lineEdit = QLineEdit(Dialog)
        self.lineEdit.setObjectName(u"lineEdit")
        self.lineEdit.setGeometry(QRect(170, 30, 541, 31))
        self.pushButton = QPushButton(Dialog)
        self.pushButton.setObjectName(u"pushButton")
        self.pushButton.setGeometry(QRect(740, 30, 151, 31))
        self.label = QLabel(Dialog)
        self.label.setObjectName(u"label")
        self.label.setGeometry(QRect(70, 90, 72, 15))
        self.label_2 = QLabel(Dialog)
        self.label_2.setObjectName(u"label_2")
        self.label_2.setGeometry(QRect(160, 90, 121, 21))
        self.textEdit = QTextEdit(Dialog)
        self.textEdit.setObjectName(u"textEdit")
        self.textEdit.setGeometry(QRect(70, 150, 821, 331))


        self.retranslateUi(Dialog)


        QMetaObject.connectSlotsByName(Dialog)
    # setupUi


    def retranslateUi(self, Dialog):
        Dialog.setWindowTitle(QCoreApplication.translate("Dialog", u"Dialog", None))
        self.comboBox.setItemText(0, QCoreApplication.translate("Dialog", u"GET", None))
        self.comboBox.setItemText(1, QCoreApplication.translate("Dialog", u"POST", None))


        self.pushButton.setText(QCoreApplication.translate("Dialog", u"Send", None))
        self.label.setText(QCoreApplication.translate("Dialog", u"Params", None))
        self.label_2.setText(QCoreApplication.translate("Dialog", u"Headers", None))
    # retranslateUi
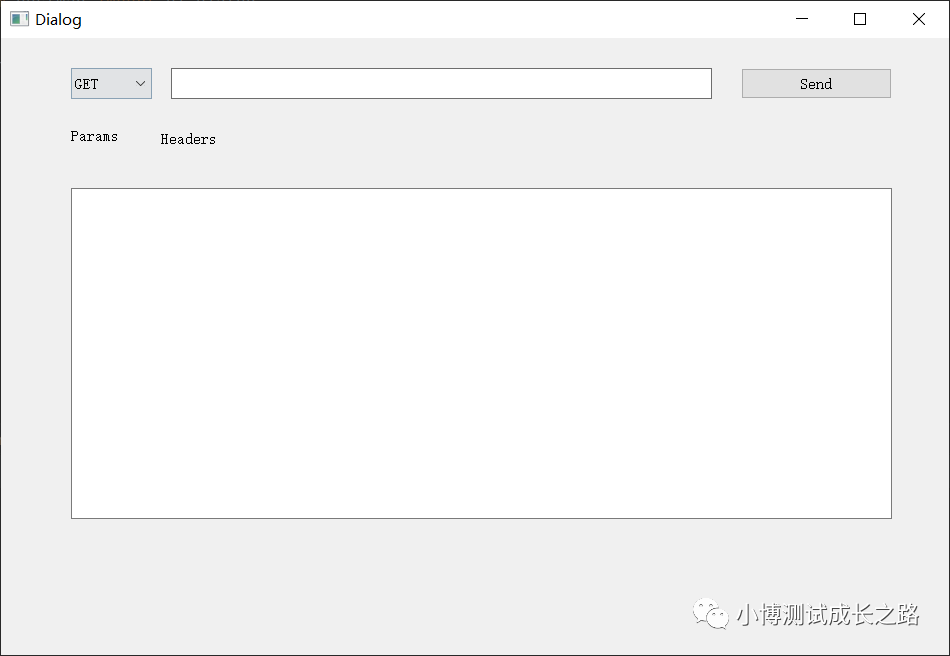
单单有以上两个脚本是无法运行的,还需要单独再写几行代码来加载页面窗口进行展示:
run_postman.py:
import sys
from PySide2.QtWidgets import QApplication, QMainWindow
from postman import Ui_Dialog


if __name__ == "__main__":
    # 创建一个Application对象
    app = QApplication(sys.argv)
    # 创建一个窗体对象
    MainWindow = QMainWindow()

    ui = Ui_Dialog()
    ui.setupUi(MainWindow)
    # 设置窗口显示
    MainWindow.show()
    sys.exit(app.exec_())
运行后的效果如下图所示:
大家感兴趣的话,可以根据自己的喜好去调整页面设计,实现自己的测试小工具。
jsjbwy