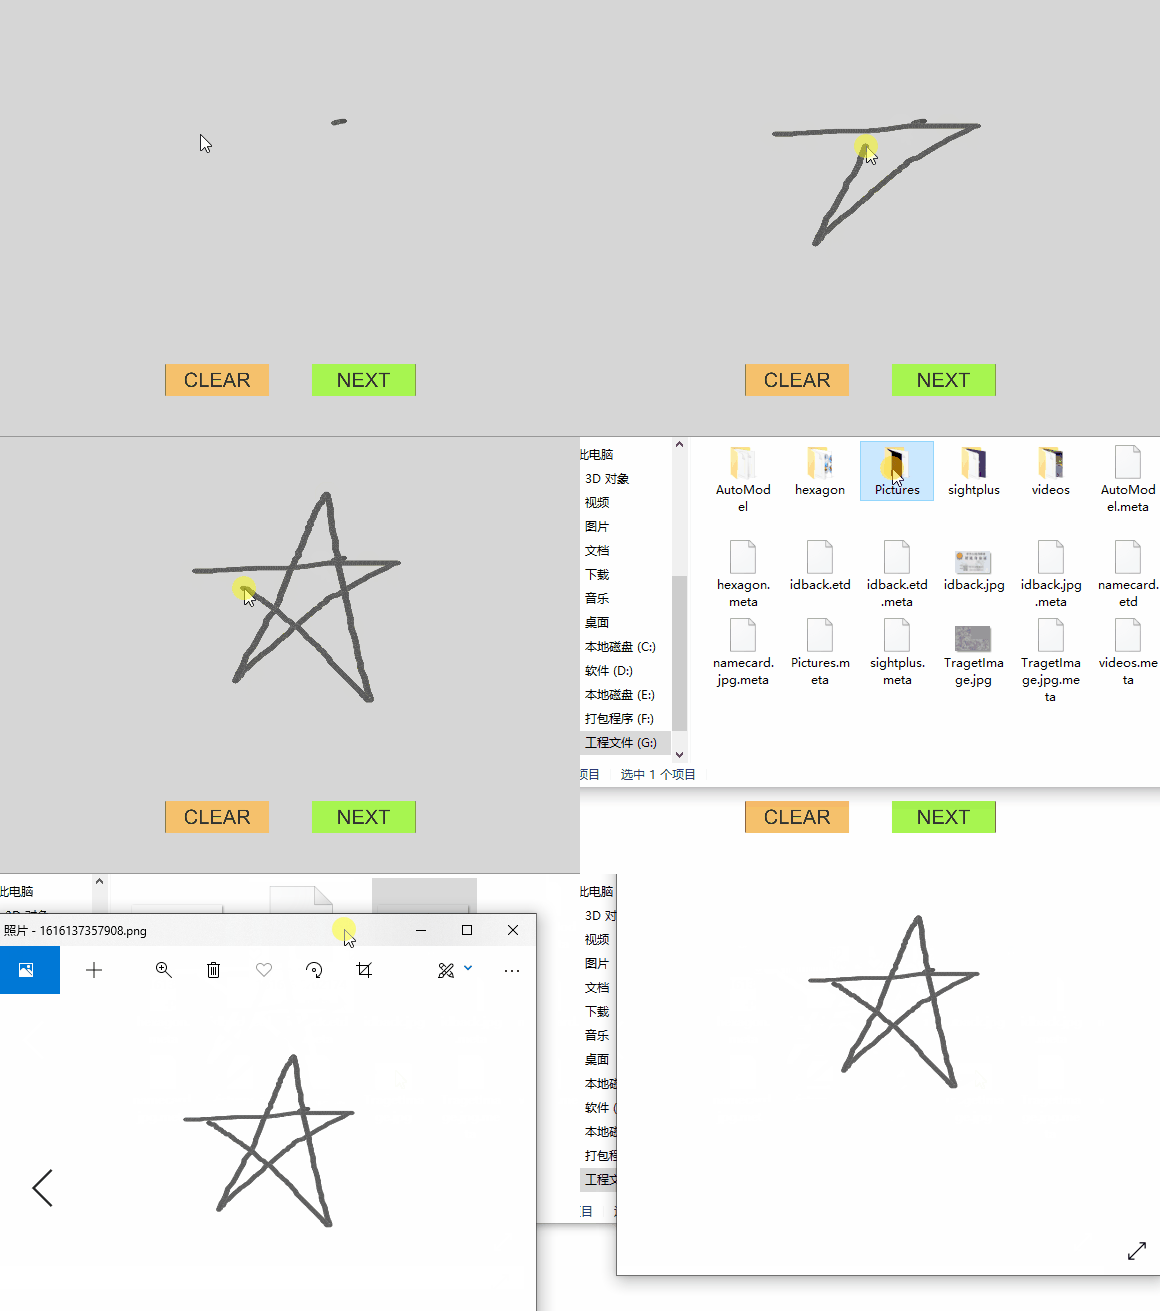
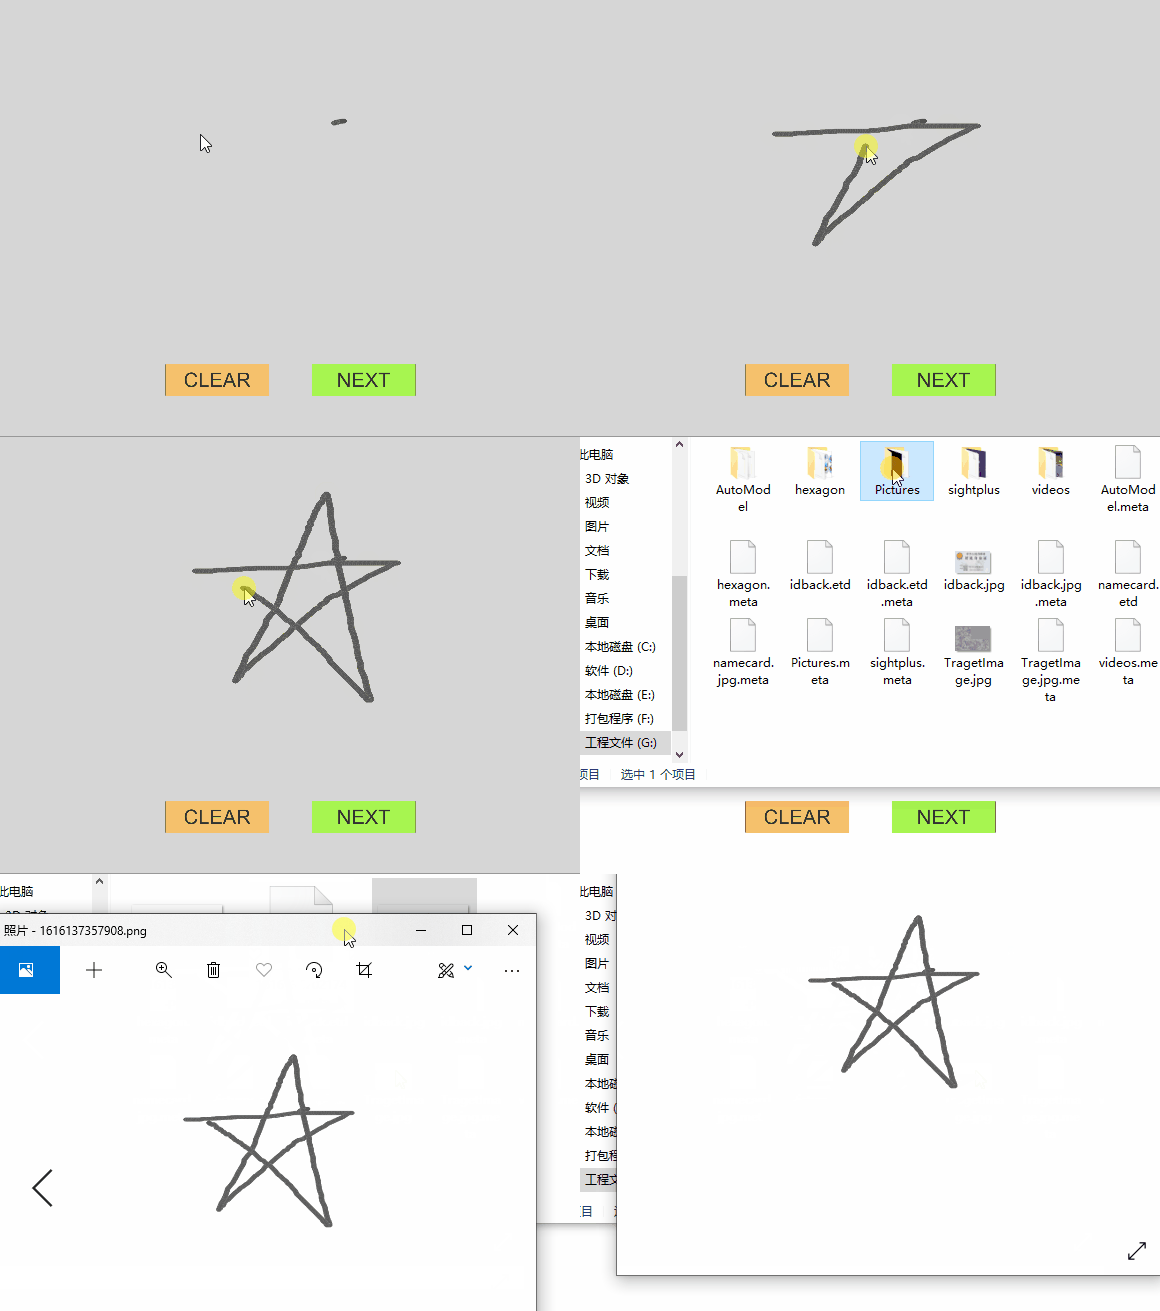
using System.Collections;
using System.Collections.Generic;
using System.IO;
using UnityEngine;
using UnityEngine.UI;
public class SavePng : MonoBehaviour
{
[Tooltip("截图存储路径")]
public string path;
public bool capture;
public RawImage rawImage;
Texture2D mtexture;
private struct ImageData
{
public long timestamp;
public byte[] data;
}
void Start()
{
path = Application.streamingAssetsPath+"/Pictures/";
}
void Update()
{
if (Input.GetKeyDown(KeyCode.S))
InputSave();
}
public void InputSave()
{
if (!capture)
{
capture = true;
StartCoroutine(CaptureAndSave02());
Debug.Log("Successd!");
}
}
public IEnumerator CaptureAndSave02()
{
if (capture)
{
yield return new WaitForEndOfFrame();
mtexture = TextureToTexture2D(rawImage.texture);
mtexture.Apply();
ImageData pack;
pack.data = mtexture.EncodeToPNG();
pack.timestamp = System.DateTimeOffset.UtcNow.ToUnixTimeMilliseconds();
FileStream file = File.Create(path + pack.timestamp + ".png");
file.Write(pack.data, 0, pack.data.Length);
file.Close();
capture = false;
}
}
private Texture2D TextureToTexture2D(Texture texture)
{
Texture2D texture2D = new Texture2D(texture.width, texture.height, TextureFormat.RGBA32, false);
RenderTexture currentRT = RenderTexture.active;
RenderTexture renderTexture = RenderTexture.GetTemporary(texture.width, texture.height, 32);
Graphics.Blit(texture, renderTexture);
RenderTexture.active = renderTexture;
texture2D.ReadPixels(new Rect(0, 0, renderTexture.width, renderTexture.height), 0, 0);
texture2D.Apply();
RenderTexture.active = currentRT;
RenderTexture.ReleaseTemporary(renderTexture);
return texture2D;
}
}

2021年3月28日使用一次
ImageData pack;
pack.data = mtexture.EncodeToPNG();
pack.timestamp = System.DateTimeOffset.UtcNow.ToUnixTimeMilliseconds();
FileStream file = File.Create(path + pack.timestamp + ".png");
file.Write(pack.data, 0, pack.data.Length);
file.Close();
其它:
byte[] ReadImg(string fileName)
{
FileInfo fileInfo = new FileInfo(Application.dataPath + "/" + fileName);
byte[] buffer = new byte[fileInfo.Length];
using (FileStream fs = fileInfo.OpenRead())
{
fs.Read(buffer, 0, buffer.Length);
}
return buffer;
}
cs


