项目源代码地址:https://github.com/mdxiaohu/androidDydSeafood
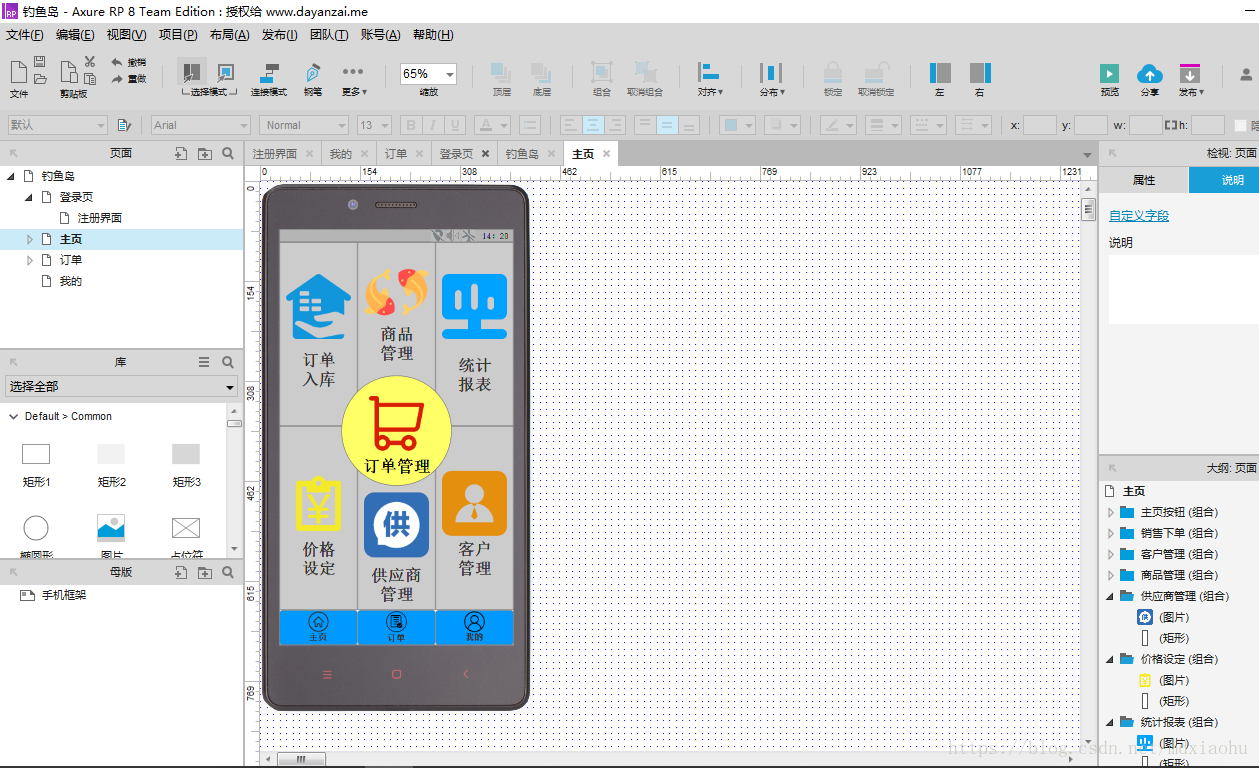
先使用Axure画出app的界面。
使用AndroidStudio,进行布局文件的编写。
这里为了保持界面的统一风格,我先编写了布局文件,比如导航栏等,布局写在一块,然后在其他页面直接引用。
这样利于不同界面的导航栏修改等。
<?xml version="1.0" encoding="utf-8"?>
<android.support.constraint.ConstraintLayout xmlns:android="http://schemas.android.com/apk/res/android"
    xmlns:app="http://schemas.android.com/apk/res-auto"
    xmlns:tools="http://schemas.android.com/tools"
    android:id="@+id/container"
    android:layout_width="match_parent"
    android:layout_height="match_parent"
    tools:context=".MainActivity">


    <android.support.design.widget.BottomNavigationView
        android:id="@+id/navigation"
        android:layout_width="0dp"
        android:layout_height="wrap_content"
        android:layout_marginEnd="0dp"
        android:layout_marginStart="0dp"
        android:background="@color/bg_toolbar"
        app:layout_constraintBottom_toBottomOf="parent"
        app:layout_constraintLeft_toLeftOf="parent"
        app:layout_constraintRight_toRightOf="parent"
        app:menu="@menu/navigation" />

    <com.example.dhy203dydhx.CustomToolBar
        xmlns:android="http://schemas.android.com/apk/res/android"
        xmlns:tools="http://schemas.android.com/tools"
        xmlns:app="http://schemas.android.com/apk/res-auto"
        android:layout_width="match_parent"
        android:layout_height="match_parent"
        android:orientation="vertical"
        app:left_tv_visible="true"
        app:left_tv_text="返回"
        app:right_btn_visible="true"
        app:right_btn_src="@mipmap/bt_sz"
        app:title_visible="true"
        app:title_text="钓鱼岛海鲜"
        tools:context="com.example.dhy203dydhx.MainActivity">

    </com.example.dhy203dydhx.CustomToolBar>


    <FrameLayout
        android:id="@+id/content"
        android:layout_width="match_parent"
        android:layout_height="match_parent"
        android:layout_weight="1">
        <TextView
            android:id="@+id/message"
            android:layout_width="match_parent"
            android:layout_height="wrap_content"
            android:layout_marginBottom="@dimen/activity_vertical_margin"
            android:layout_marginLeft="@dimen/activity_horizontal_margin"
            android:layout_marginRight="@dimen/activity_horizontal_margin"
            android:layout_marginTop="@dimen/activity_vertical_margin"
             />
    </FrameLayout>


</android.support.constraint.ConstraintLayout>
?
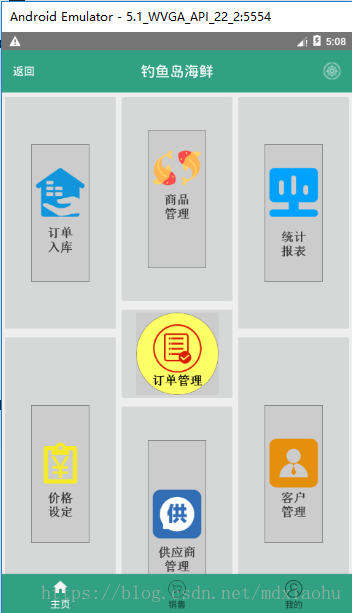
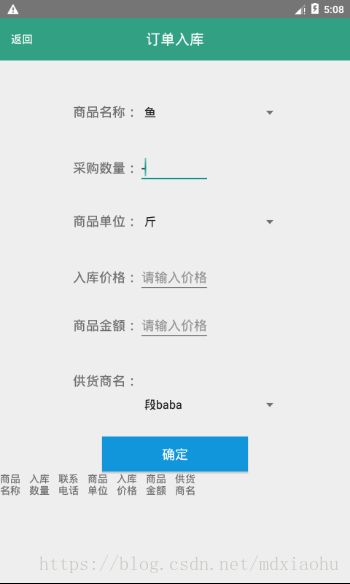
效果图:
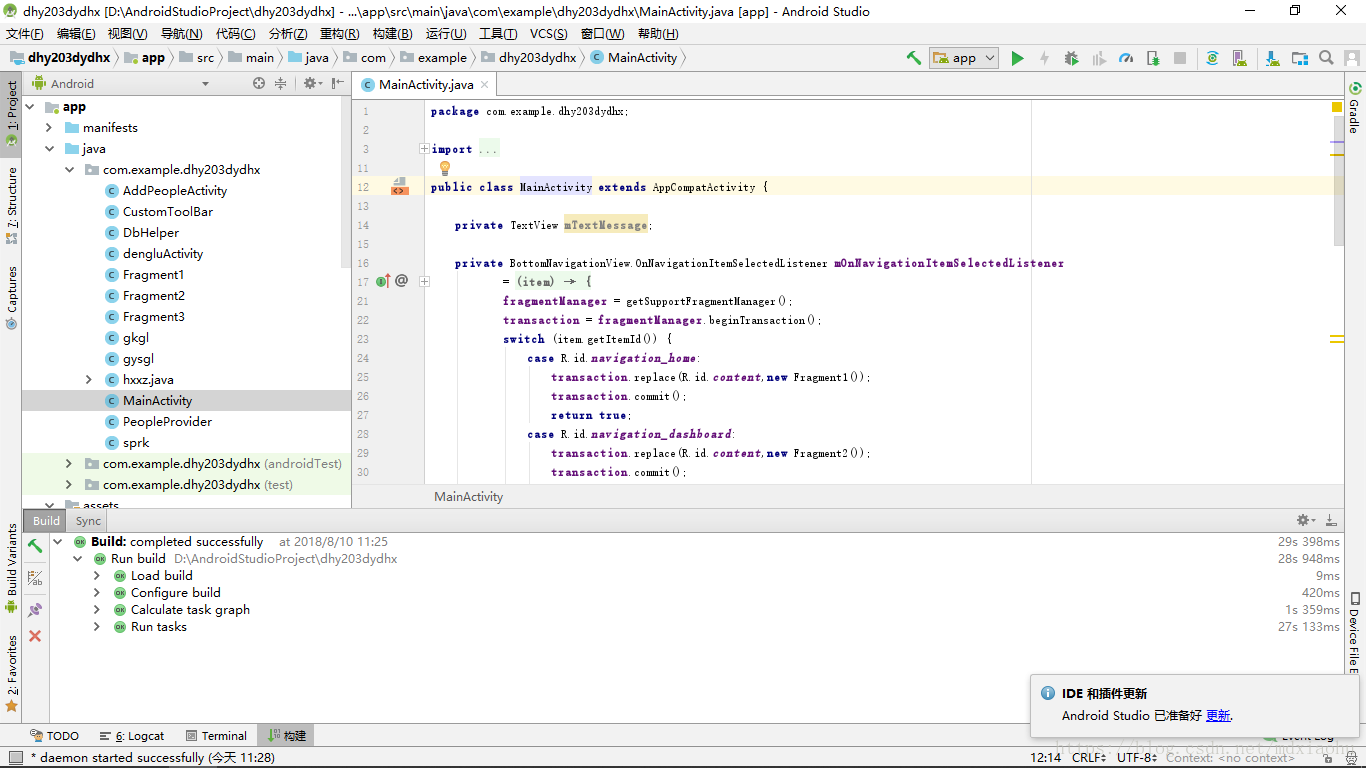
项目结构:
界面和功能
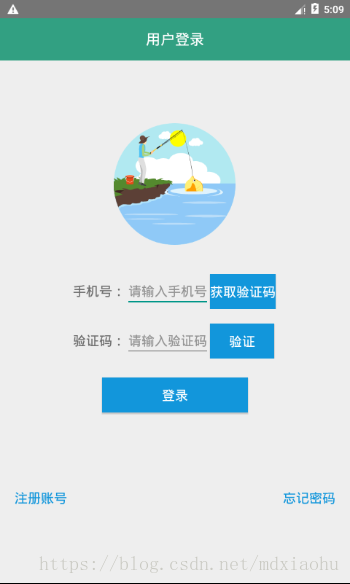
登录这里完成了,短信验证功能。是使用mob提供的第三库实现的:http://www.mob.com/
里面还有其他功能,可自行选用。
这里实现了SQLite数据库的操作
还有其他一些功能,就不一一列举了。
因为这都是之前的项目,不打算深入讲解。
只做个记录。
cs